
Fixing the Problem of the Broken Digital Negative
A whole industry has developed around how to correct the broken digital negative created by the software in the editing programs.
Contrary to the established wisdom, a true digital negative with the full range of tones from the deepest shadow to the brightest highlight can be calculated from the negative and positive logarithms, completely eliminating the need for densitometers, scanners, linearization procedures, etc.
A “broken” digital negative created by editing software

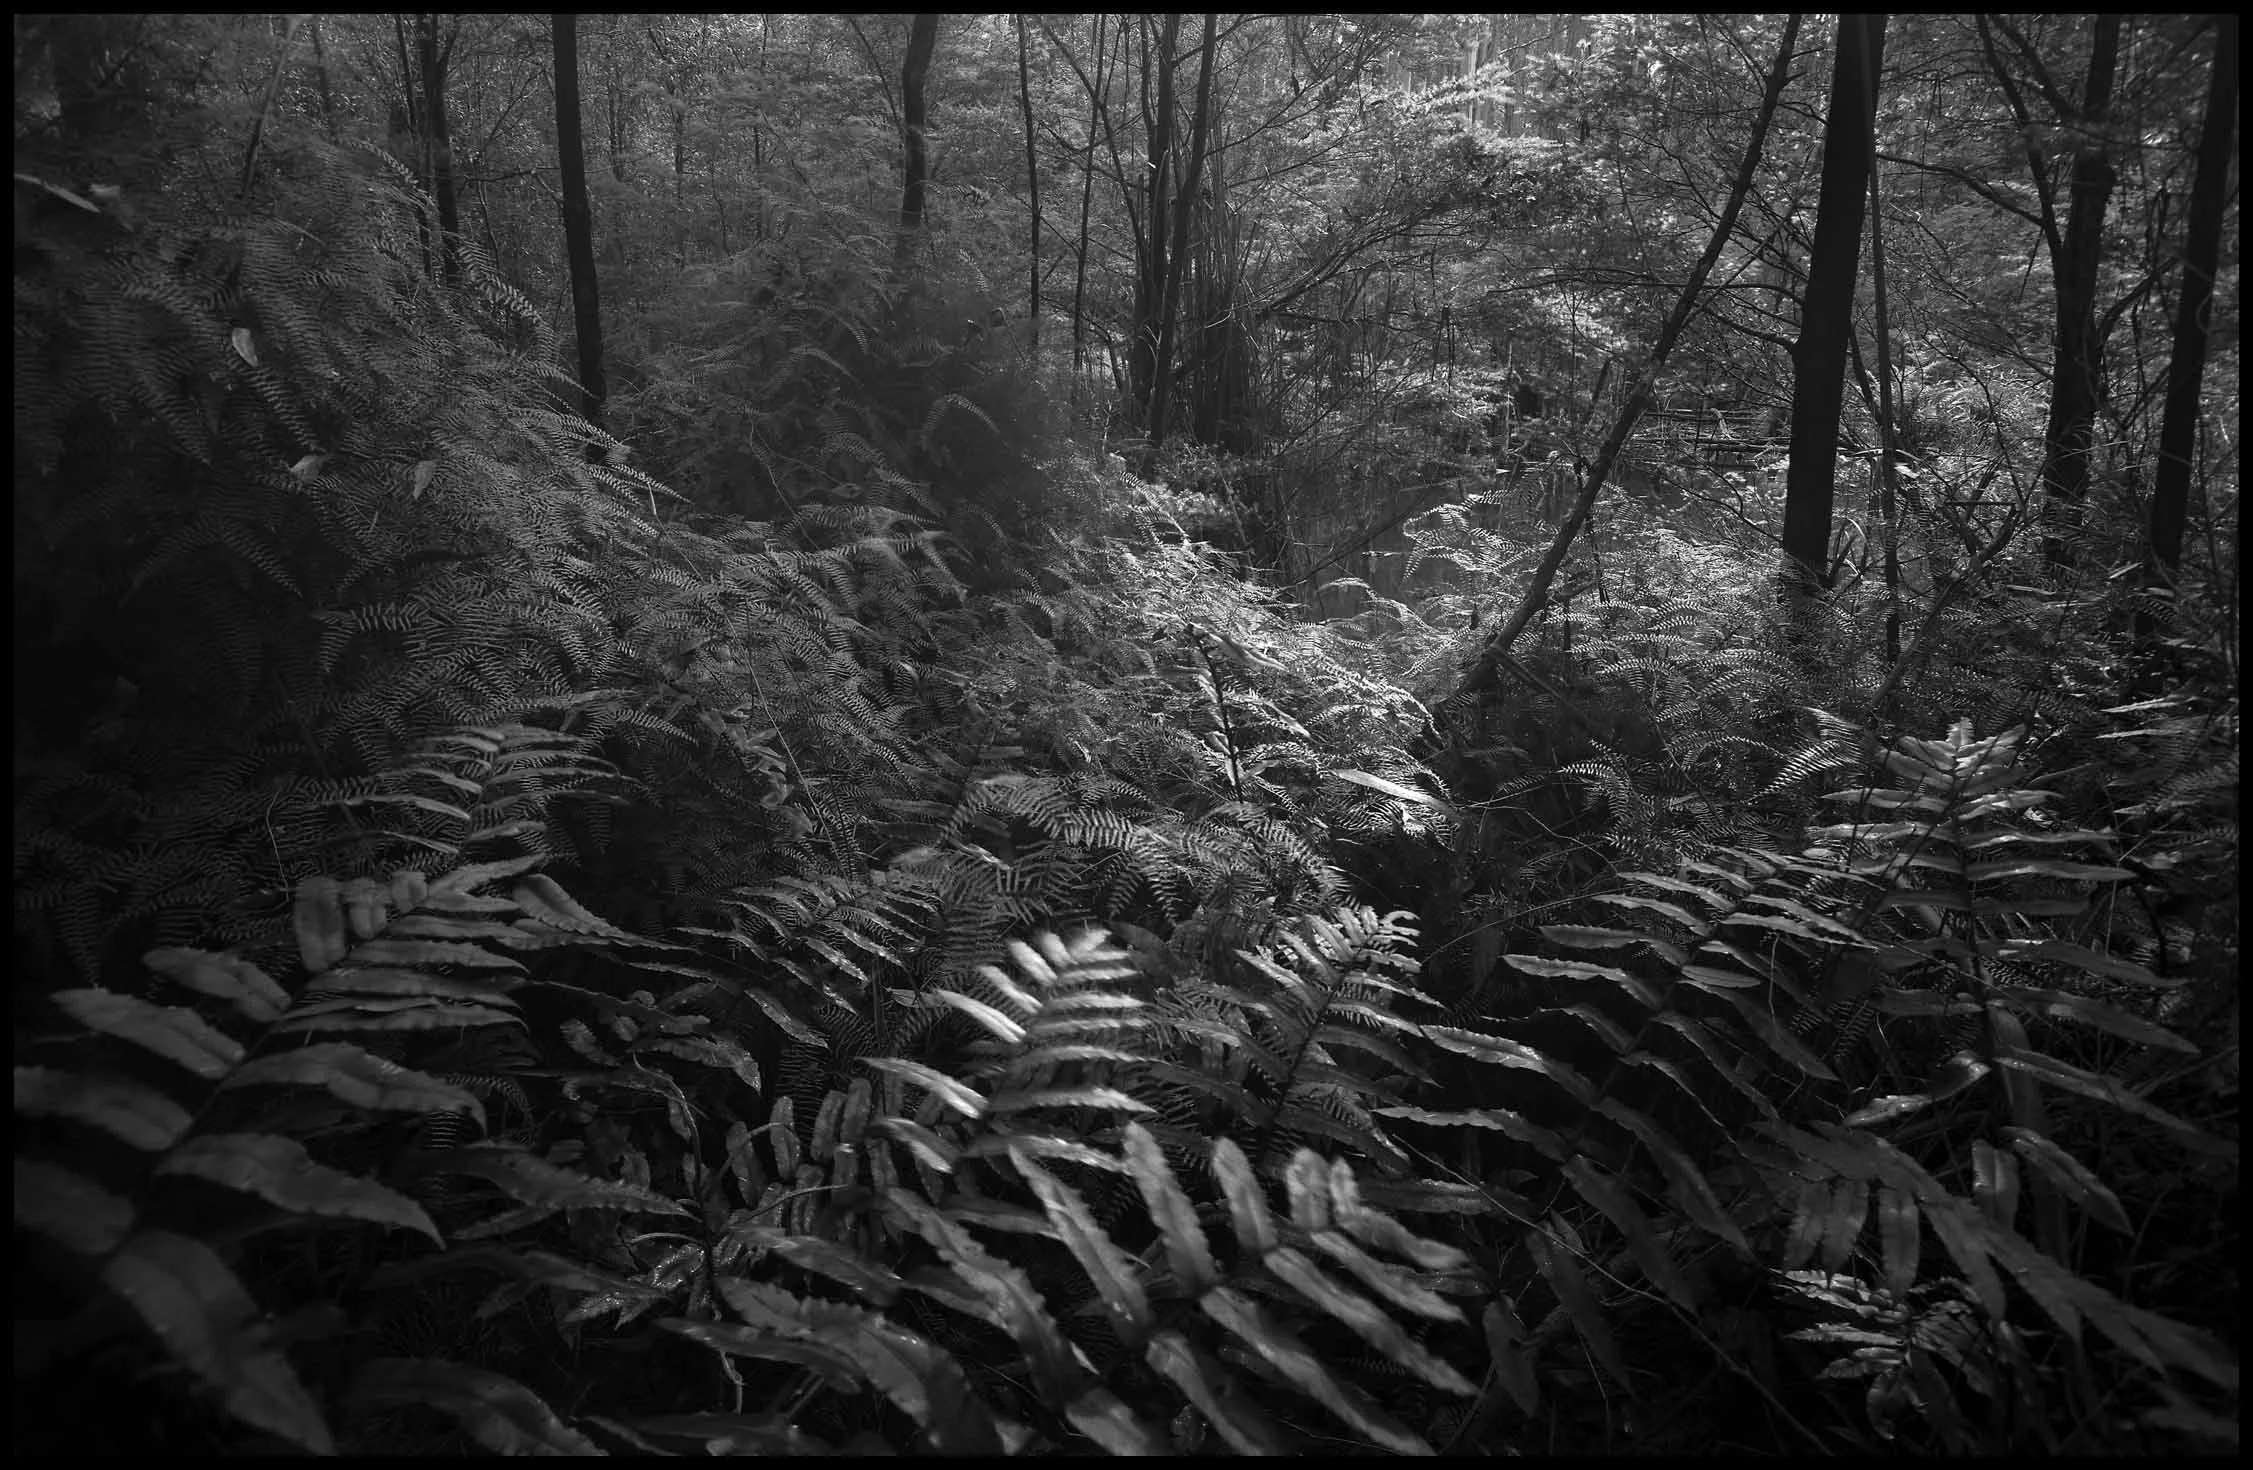
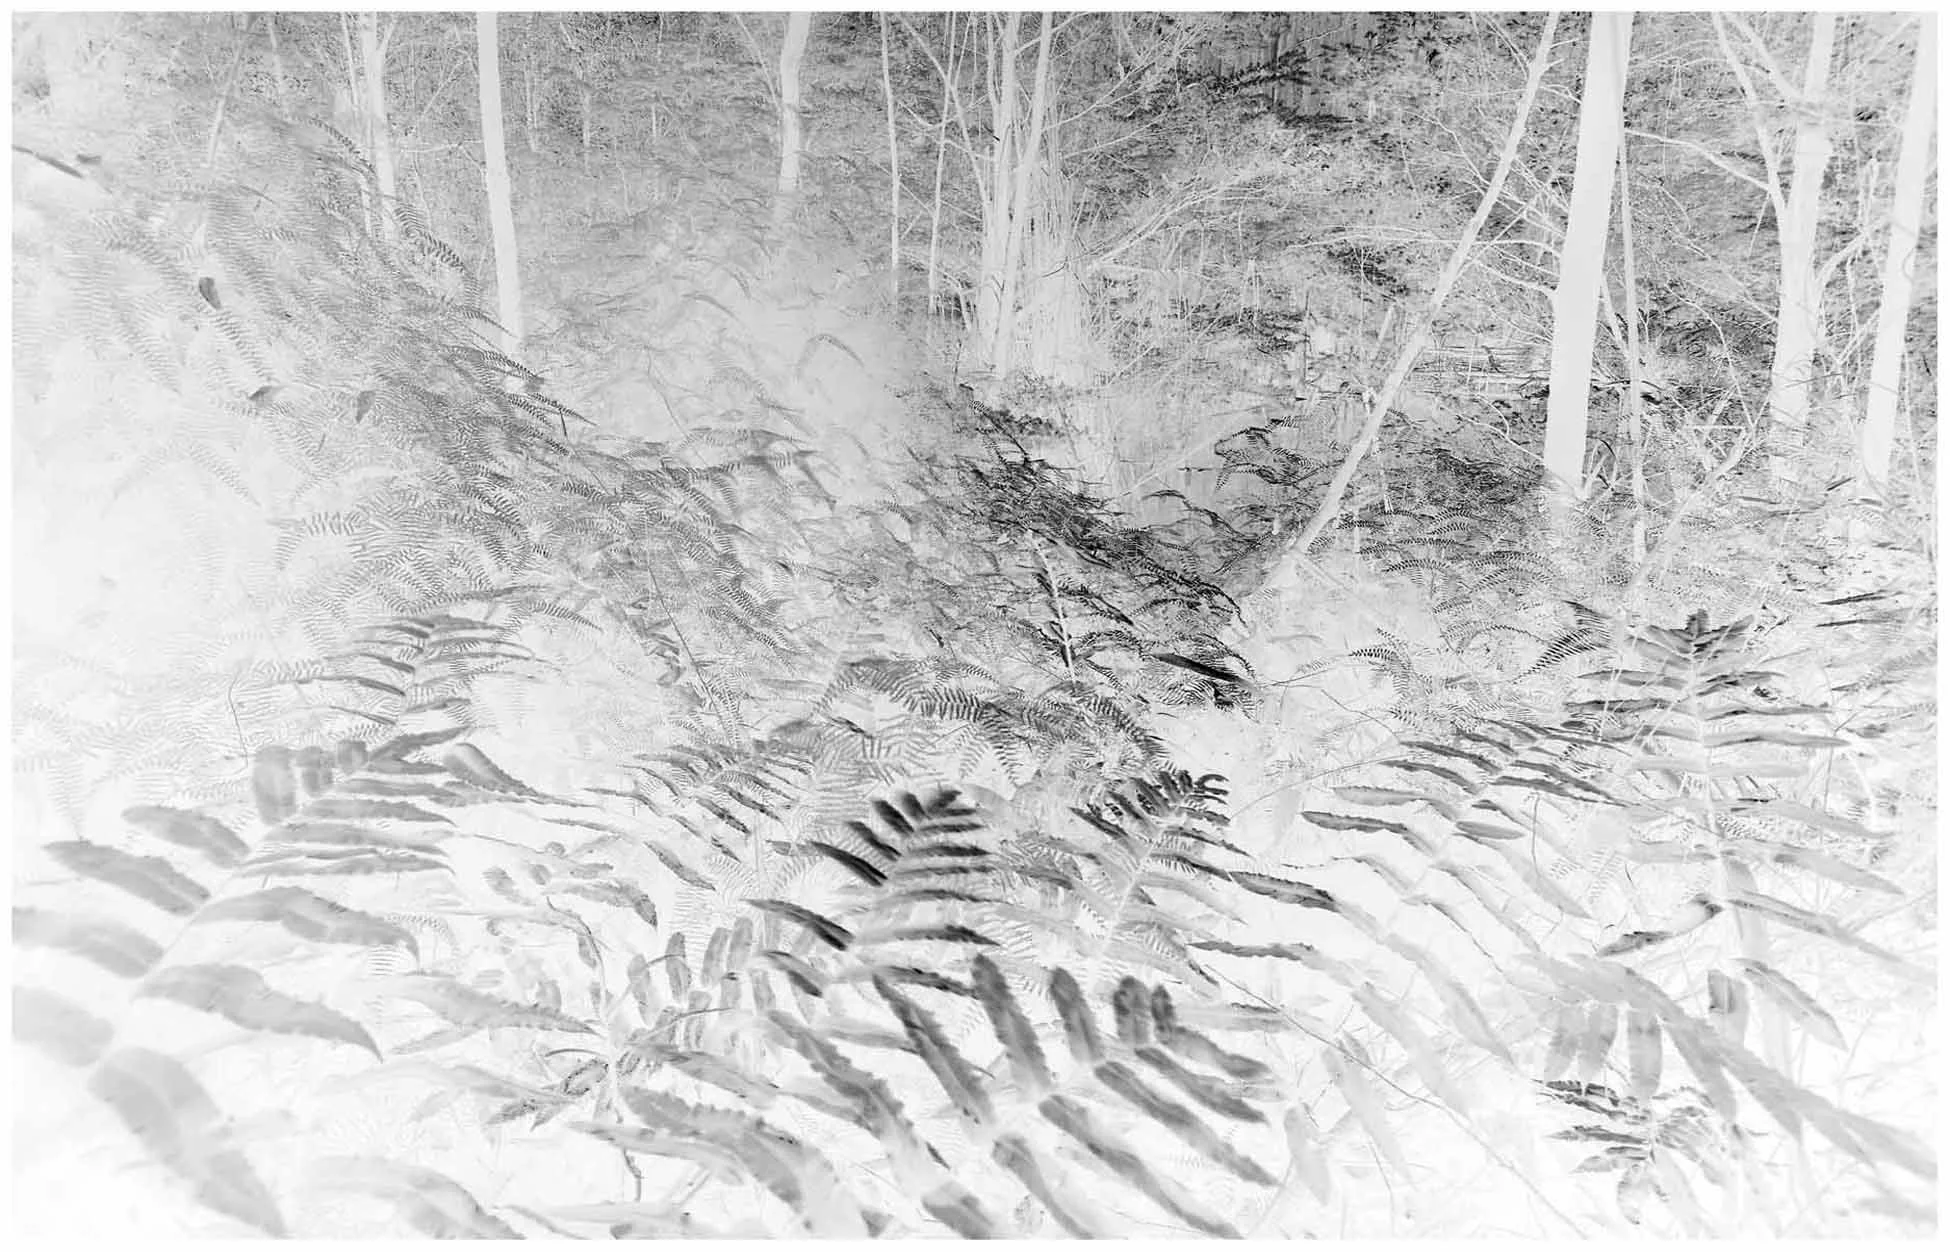
Negative created using logarithms
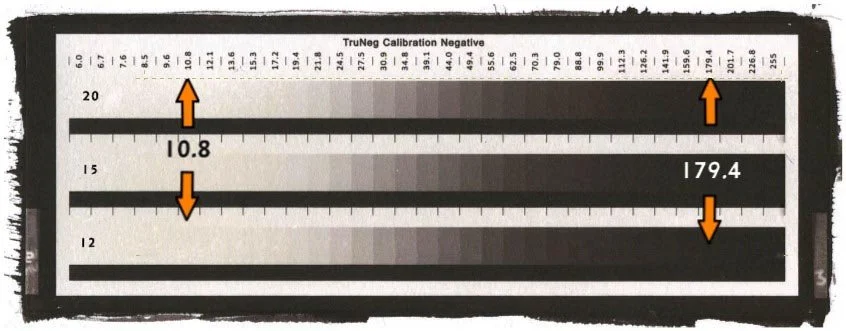
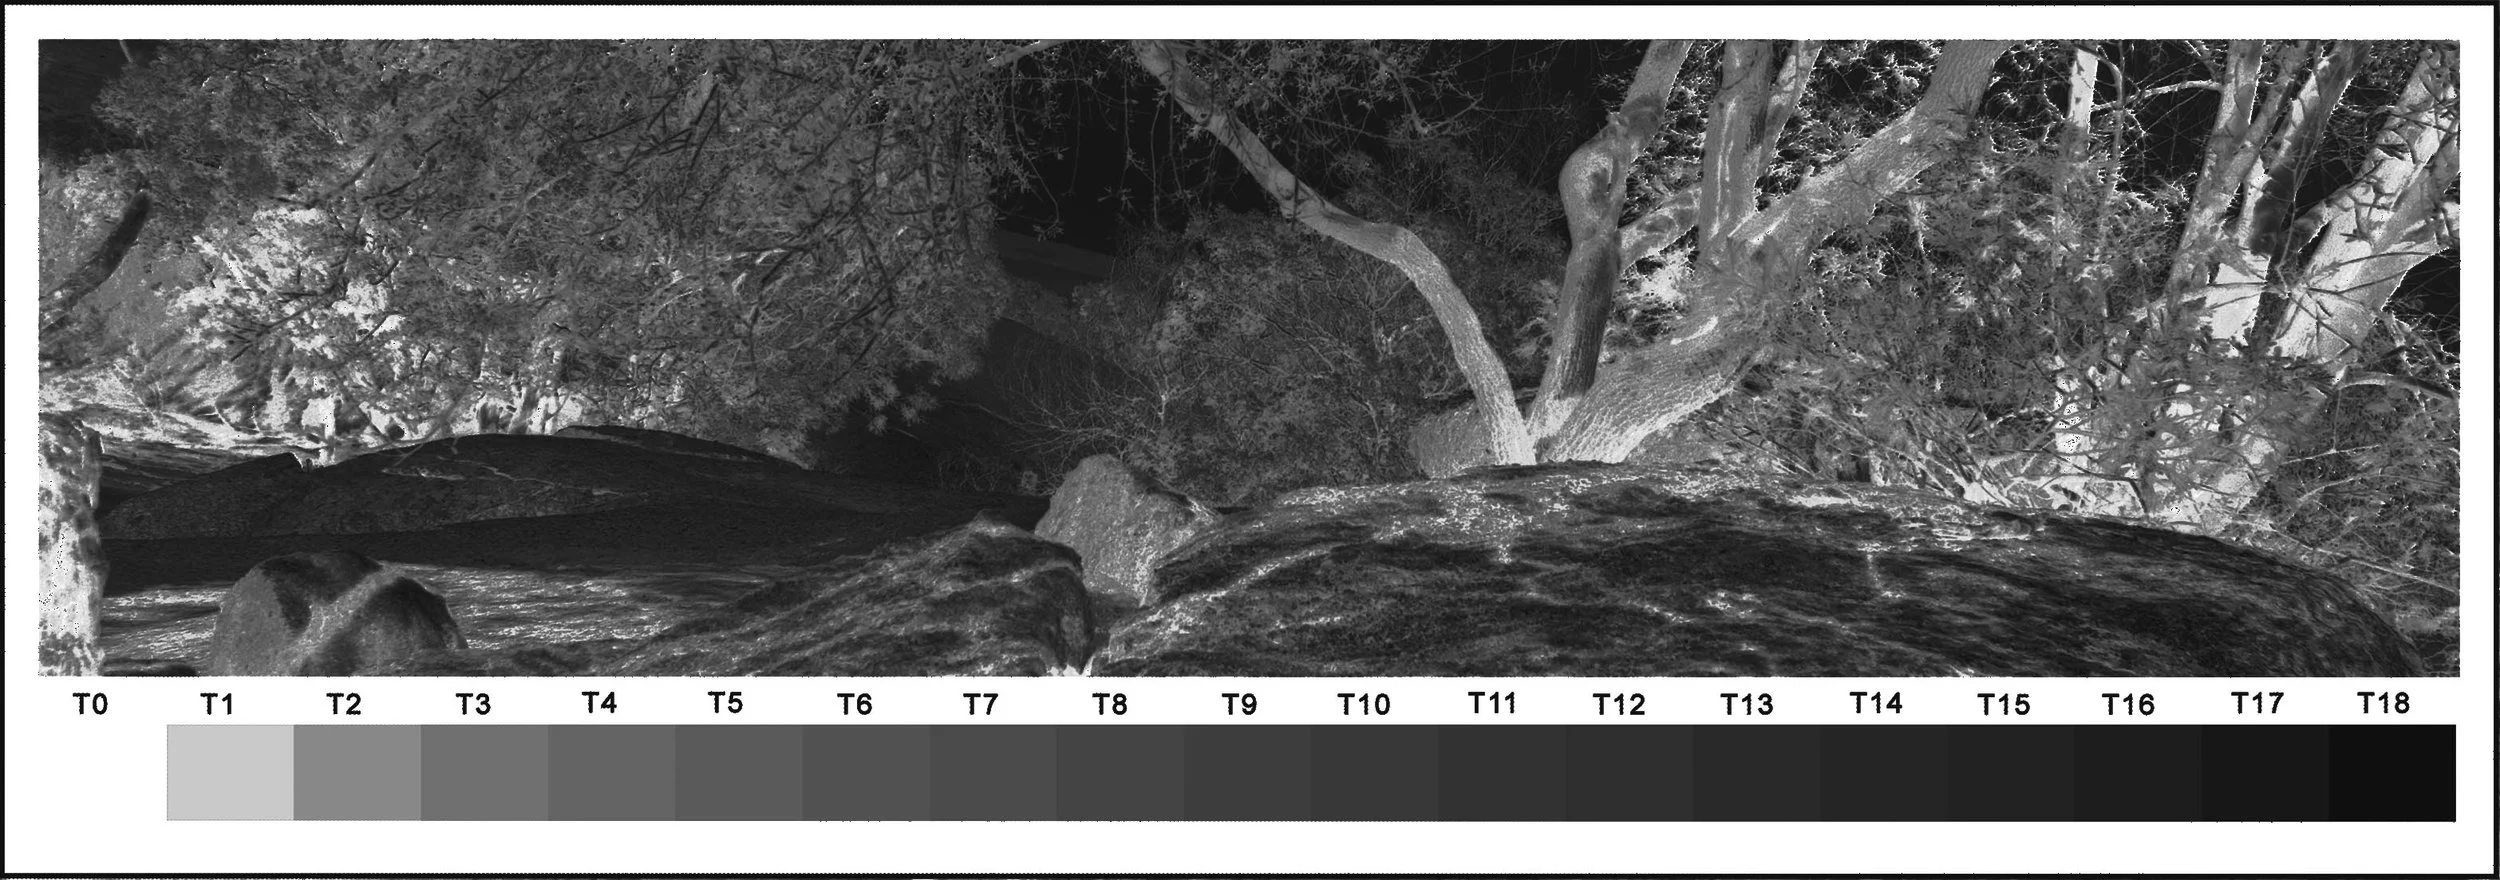
Download and print the Calibration Negative and find the minimum exposure that produces a clean white and maximum density when printed on the selected process.
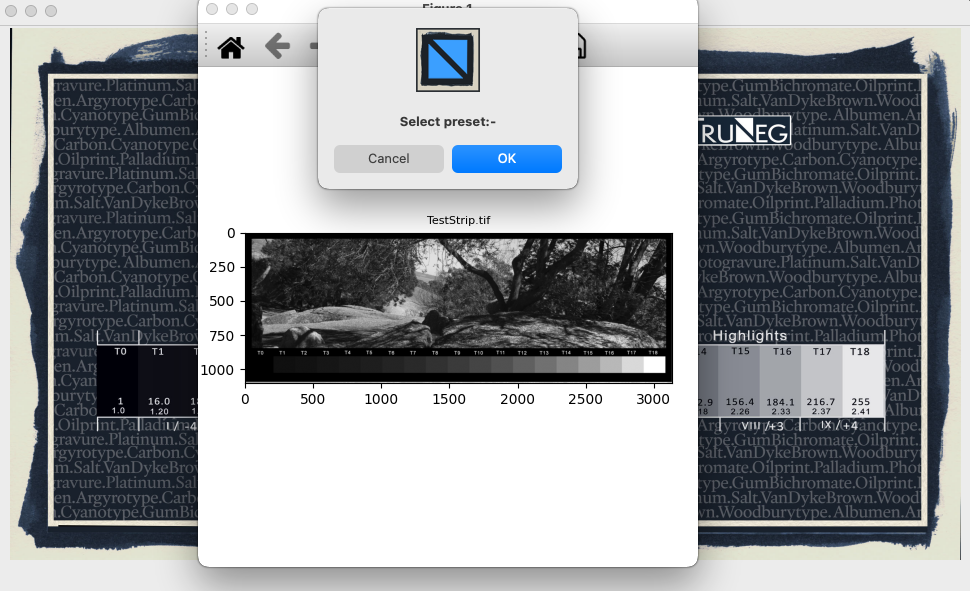
Open the Calibration menu and input the two RGB values that produce ”just white’ and ”just black” from the calibration print. Download and load the process profile from the website, then save the Preset.
In the Convert Menu, open a test strip, select the Preset and press OK to convert to negative.
Print the negative and print the test strip.
Correct any unsatisfactory tones in the Curve window that are caused by printer and chemistry variations and reprint the test strip with the new preset.
If necessary, repeat step 5.
When happy, print the print and save the Preset for future use.
See Menu “The Authentic Digital Negative” for explanation of the true analogue digital negative.
Full Instructions are available in the main menu.
Copy of a Carbon print (Oxide Black) demonstrating the shadow and highlight tones produced by the TruNeg logarithmic digital negative.
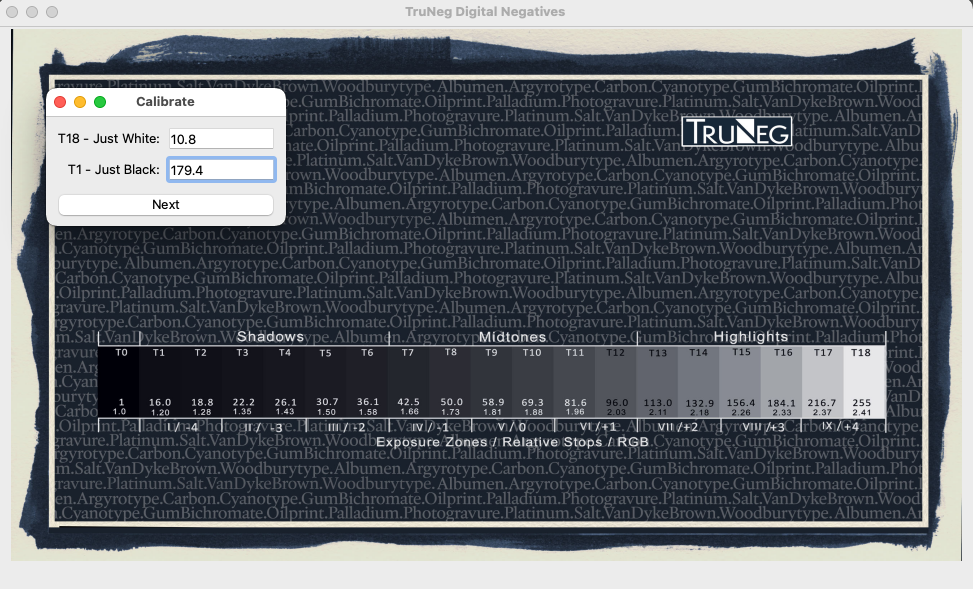
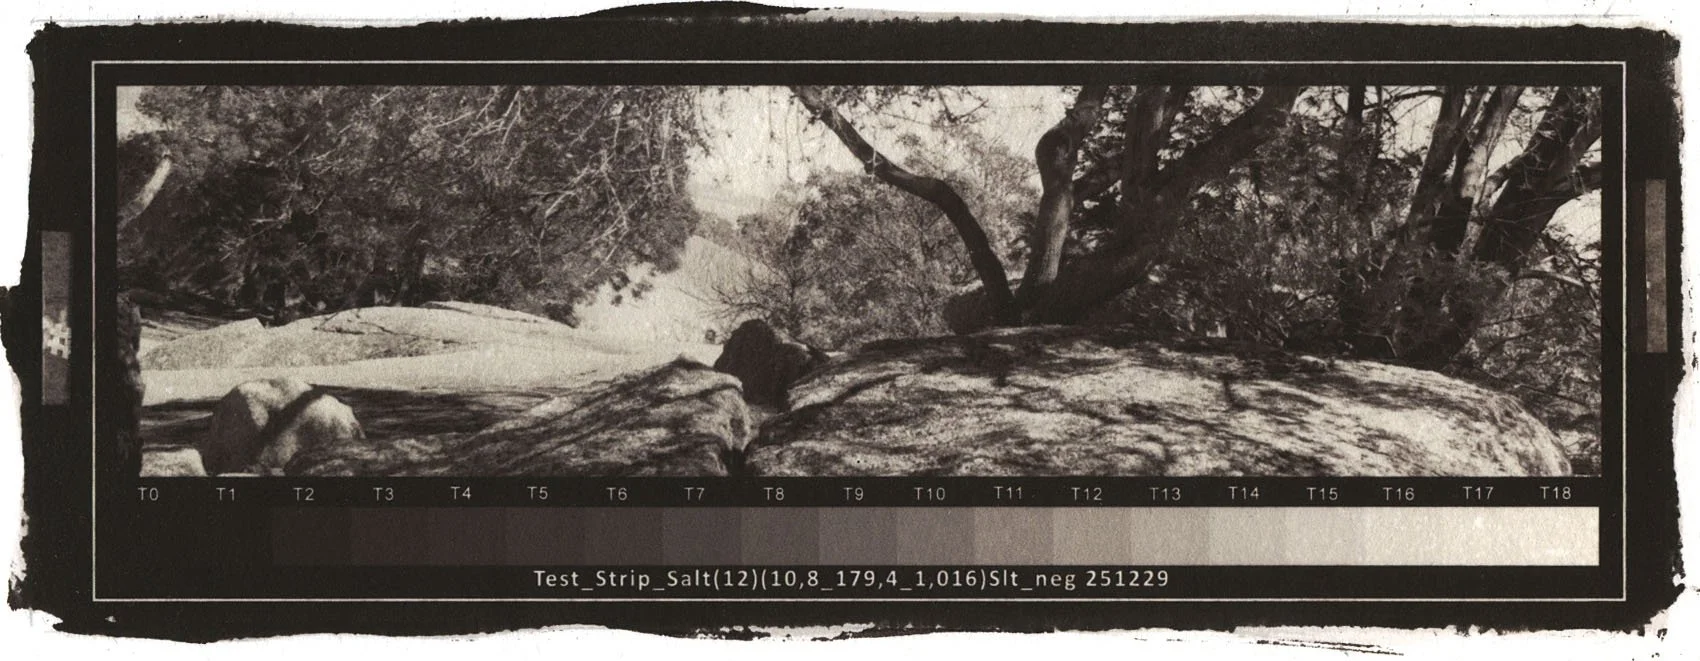
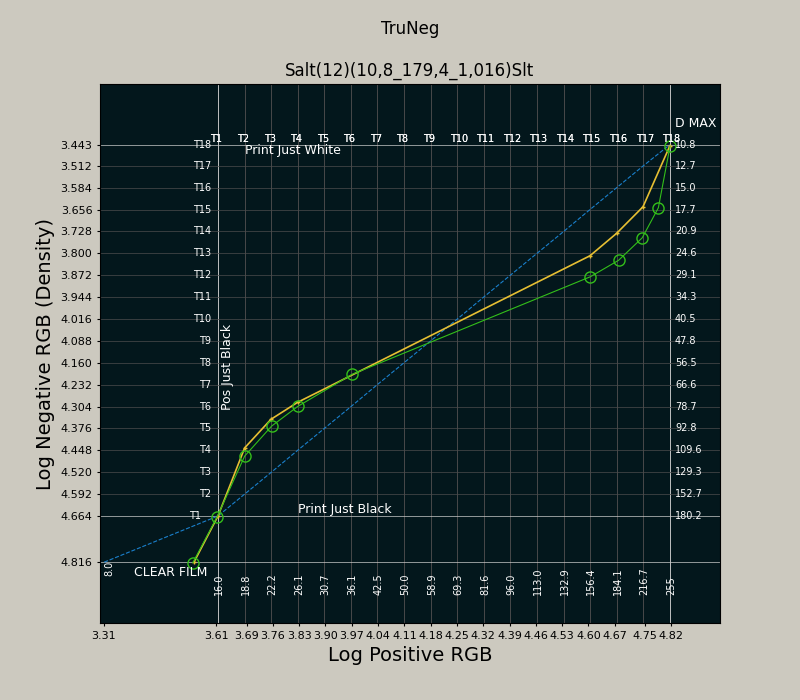
The TruNeg plot window displays the 16-bit logarithms of the negative and positive images. The blue line represents the true analogue negative, ranging from the negative “just white” to “just black” RGB values. The yellow plot shows the generic profile curve for the Salt process, increasing the contrast in the highlights and shadows. The curve is created by producing a satisfactory print using test strips and recording the variations from the true negative. Profiles for several common processes are available from the website.
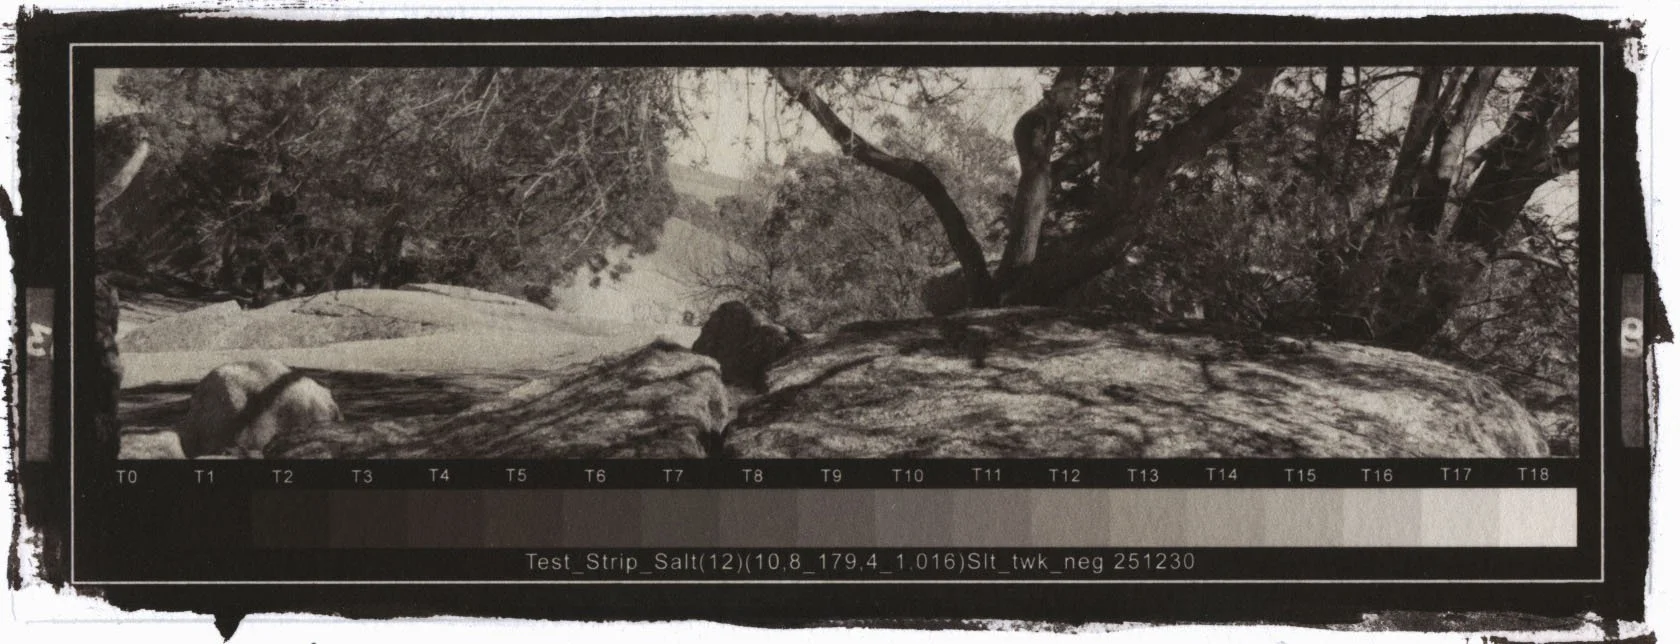
The plot can be amended by clicking on the plot to create a new curve. The green circles show where the plot has been clicked to darken the highlights of the salt print. Each gridline corresponds to a tone in the stepwedge included in the template making it possible to previsualize the changes when amending the curve. Points can be added anywhere, dragged by clicking and holding, removed by right clicking. There is no limit to the number of points, except that they cannot be closer than about half a grid space.
The ability to use the curve to subtly amend the print brings to digital negatives the traditional darkroom practice of using test strips to build the print in the printer’s eyes.