
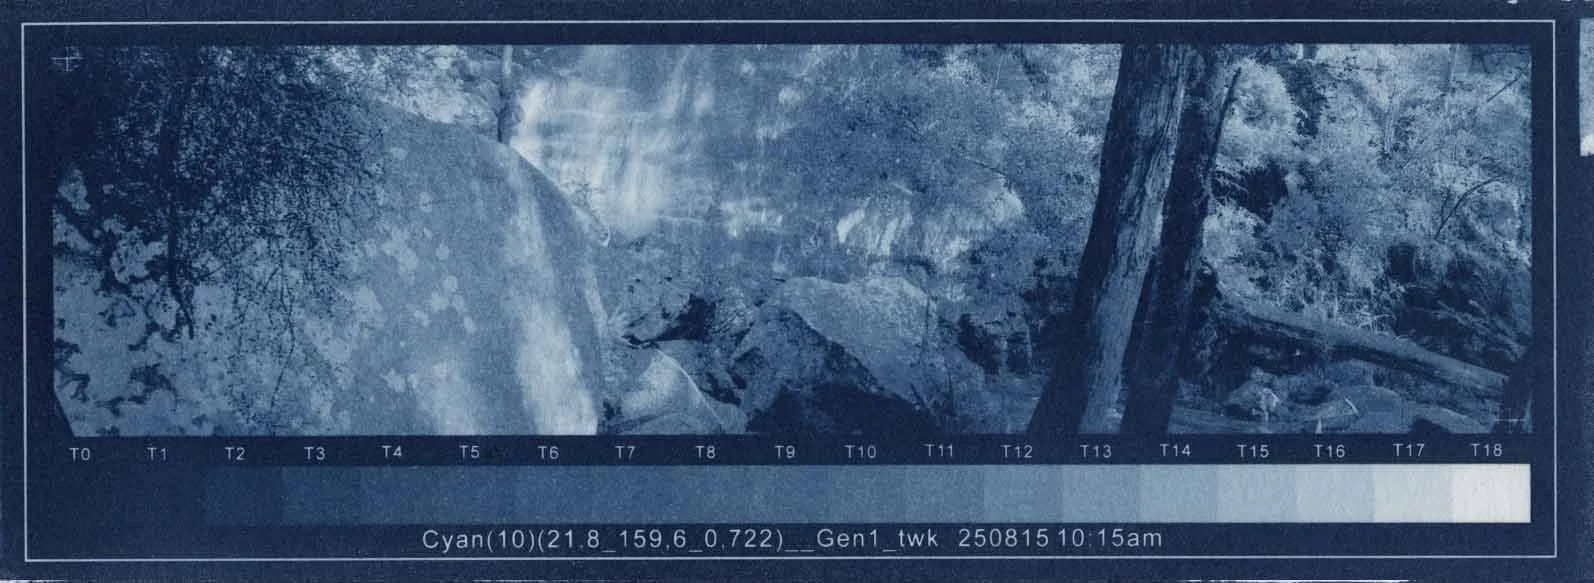
Tweaking a Cyanotype
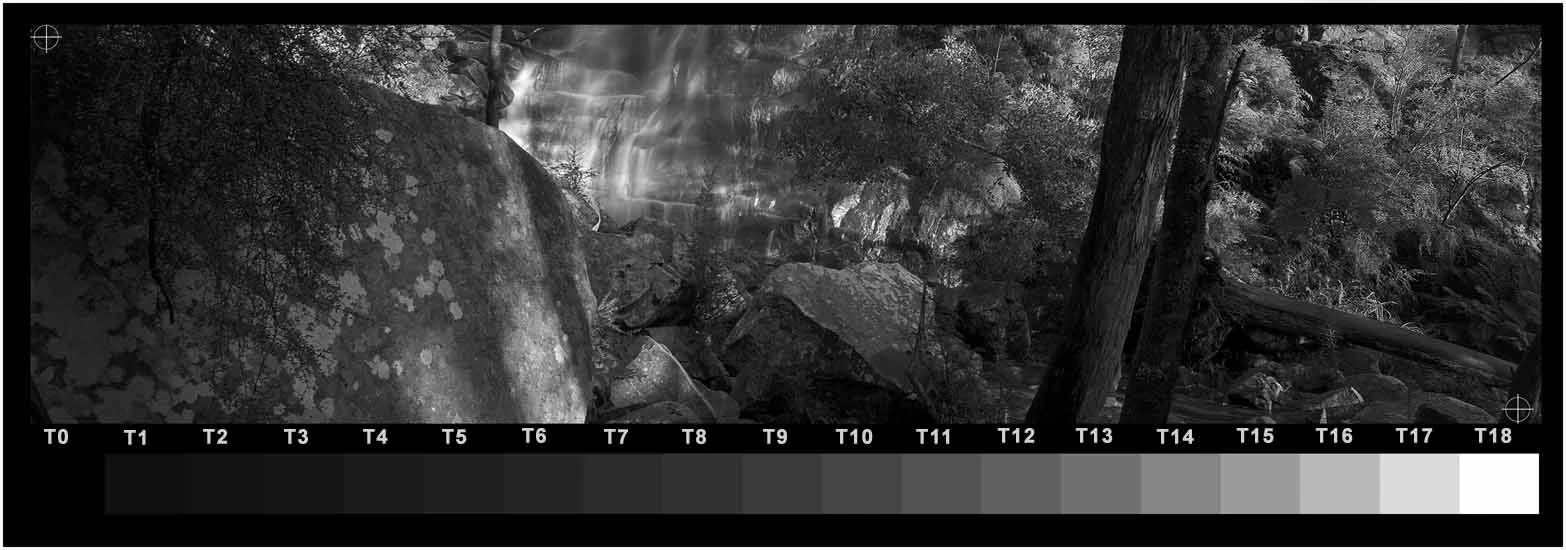
Test prints should be made with the TruNeg template to help identify the tone numbers to be corrected.
Assessing the Cyanotype
T1 is just visible from T0, therefore OK
T18 is “white”, but can be deceptive in Classic Cyanotype because of peptization staining the paper. As long as T17 is carrying some tone, even if too light, it generally indicates that T18 is not excessively light.
The darker midtones are too light, which is evident in the rock on the left-hand side
The darker highlight tones around the waterfall are too light causing the highlights to be too flat and bright
Comparing the print stepwedge with the original image stepwedge, it can be seen that the tones that need darkening are around 15/16/17 and T4/5/6.
Understanding the Plot
Take some time to orient yourself with the plot window. While the plot is a plot of the negative, it should be thought of in terms of the print. Dragging the curve down darkens the print; pushing it up lightens it.
The intersections of the vertical grid and the yellow plot are the LogRGB values, or negative density, that produce the print stepwedge tones.
To darken T16 one tone to T15, align the vertical hairline cursor on the T16 grid line and the horizontal hairline at the intersection of the yellow preset plot and the positive T15 grid line. Clicking the left mouse button will create a new control point that will darken T16 to match the T15 print tone.

Similarly, to darken T4 to T3, align the vertical cursor line along the T4 grid line and the horizontal T3 hairline with the intersection of the preset plot and the positive T3 grid line. Clicking the mouse generates another control point and a green plot line between the two points.

Gradually smooth out the new curve by adding points, making sure that the two original control points are not altered and the curve passes through the existing T9 and T10 points to maintain the existing midtone.


Finish the curve and save it by clicking on or just below the clear film line, which is always the last point entered.
The before-and-after prints are shown below, demonstrating the fine degree of control possible with the application.