
Convert
Making a Test Strip
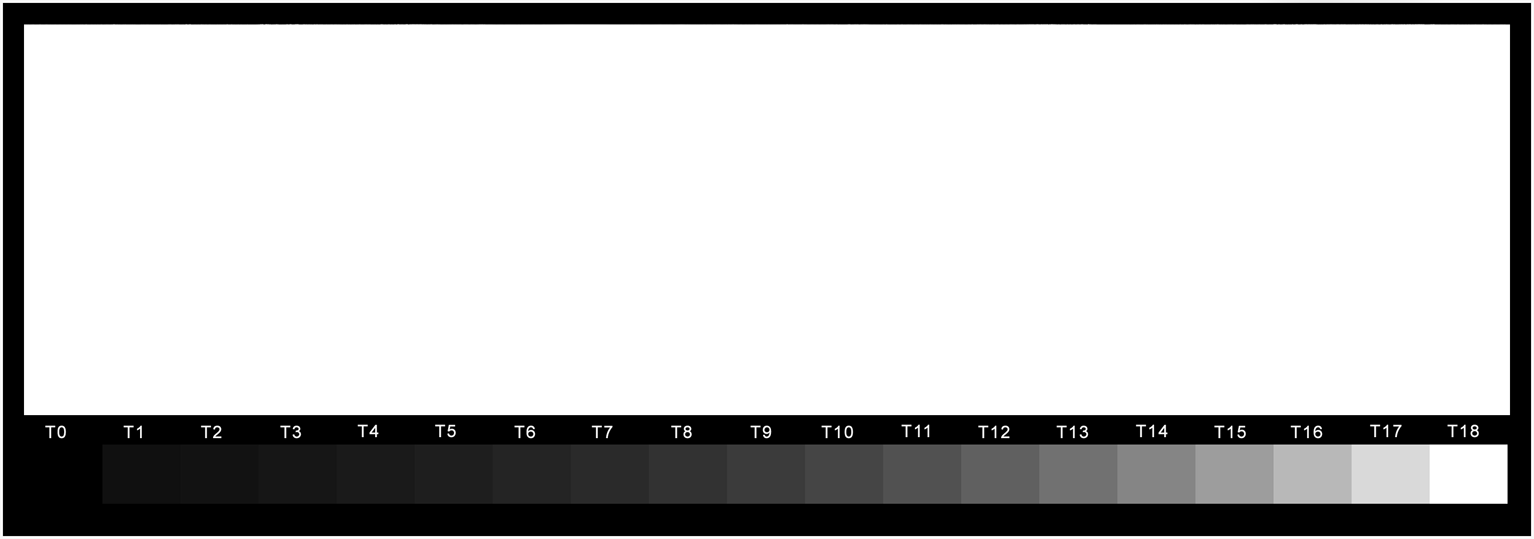
The Test strip template
TruNeg provides an 8.75 x 3-inch 360 dpi test print template containing a copy of the TruNeg stepwedge. The stepwedge has 18 tones from RGB 16 to 255 at approximately half-stop exposure intervals which correspond to the grid in the Curves window. This provides direct feedback between the printed stepwedge and the negative curve, so that to change any tone in the stepwedge by one tone, the curve is changed by one grid line.
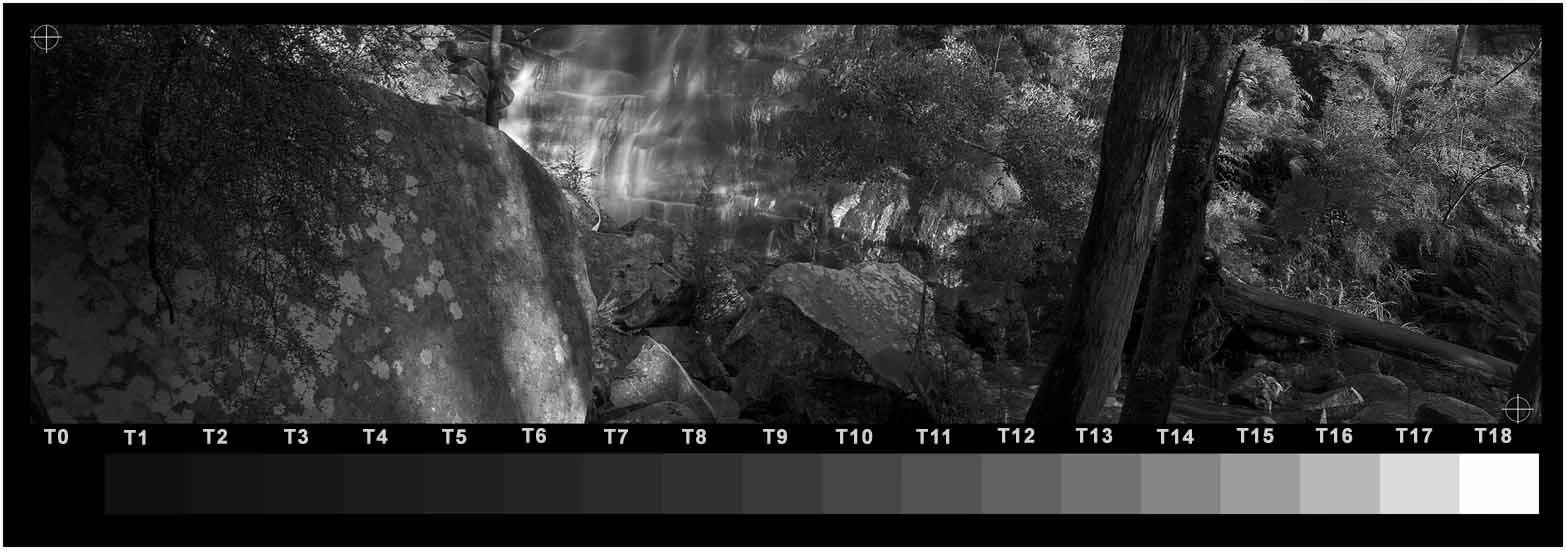
Download the template from the Downloads menu. Open the template in the editing program, cut and paste a section of the image you want to print and flatten the file. Please note that the template is 360 dpi, and you may need to adjust the image size accordingly.
Converting the Negative
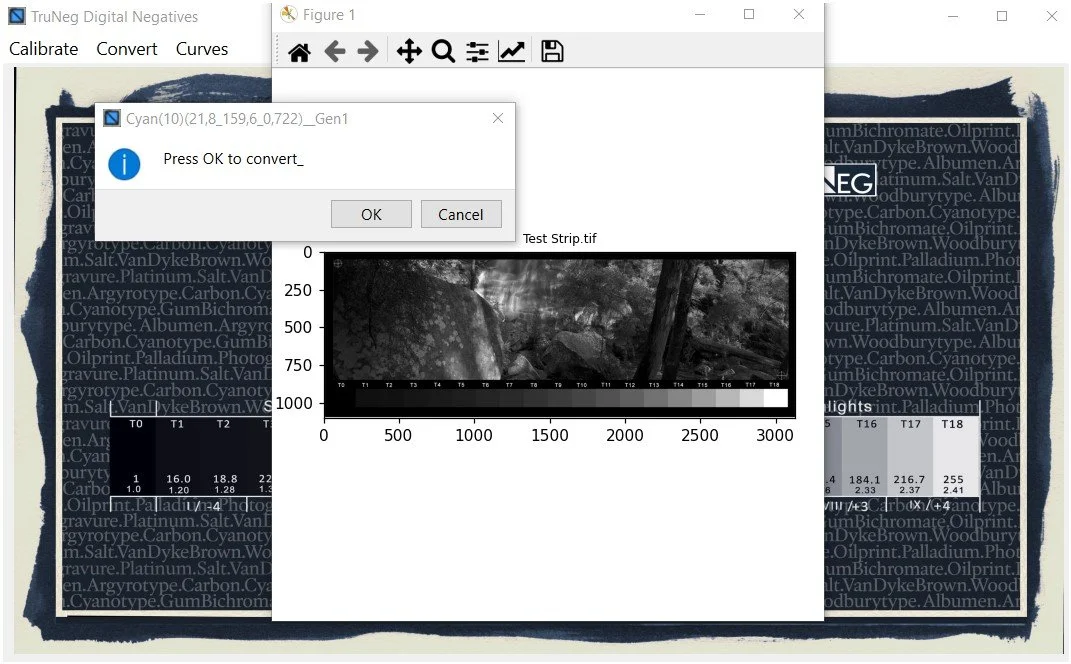
Open the Convert menu, select your template and the previously saved preset, then click OK. The template conversion process takes approximately 15 to 20 seconds. Note that the negative displayed in the Convert plot window is not the real negative. The negative to be printed is automatically exported back to the same folder as the original image when conversion is completed.
Finally, print the negative and perform a test print using the exposure settings determined during calibration.
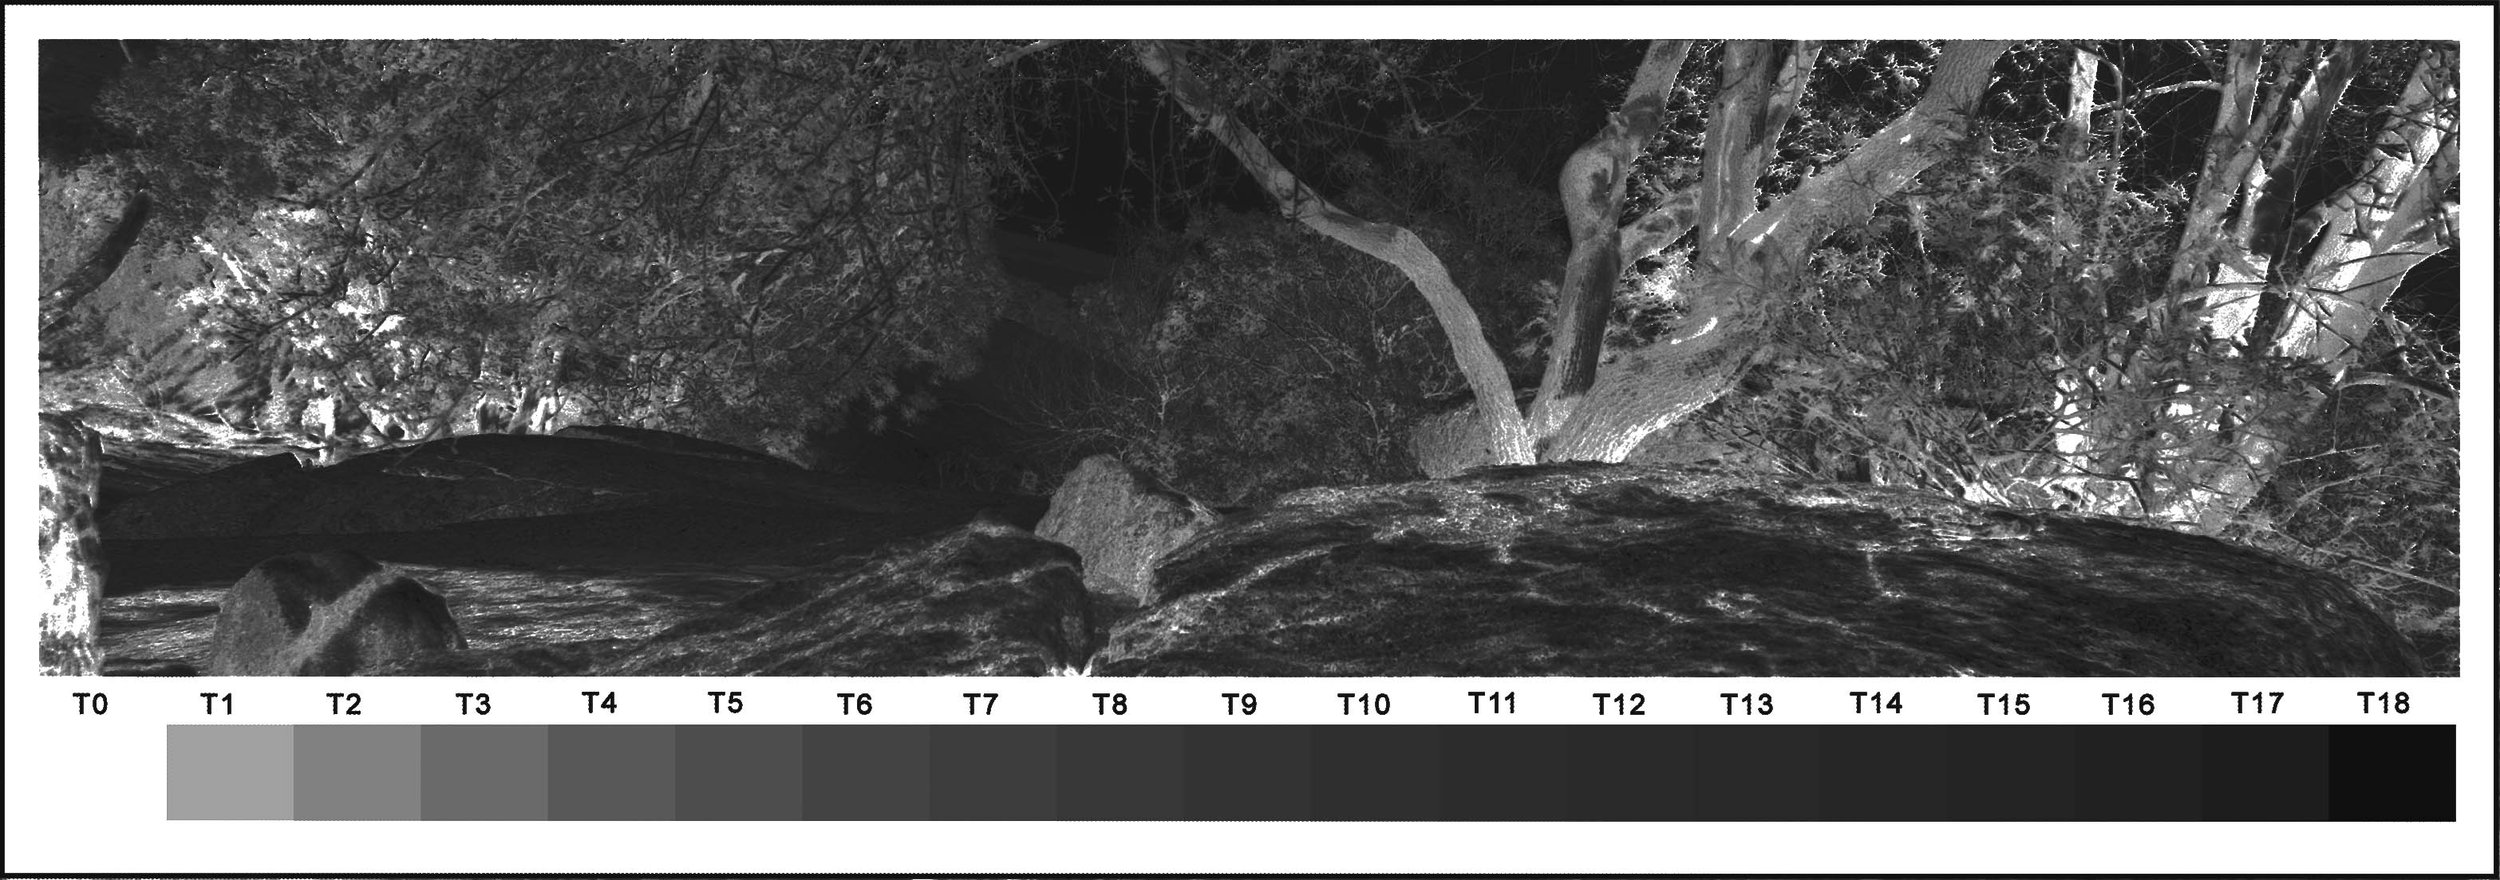
Reading the Negative
The exposure required to achieve a good maximum density usually means that the just black RGB value is around 160 or 180. This means that even though T1 in the negative is quite dense, it prints as ‘black’ the same as T0, and the two tones merge.
This does not mean that some shadow detail is lost, as the shadow detail is determined by the RGB 16, 18.8, 22.2 tones in the positive.
The negative appearance is further affected by the positive value that becomes clear film. In TruNeg all positive tones less than RGB 8 are always made clear film and tones less than RGB 16 can be brought down to clear film between RGB 15 and 8. This can quickly drop the negative to clear film and sometimes produces odd effects between the tones that prints just black and clear film as the negative jumps between the T1 tone and clear film. This has no effect on the print.