
Solving the Problem of the Digital Negative
There is no need to waste your time trying to fix incorrectly inverted negatives
The True Digital Negative
A whole mythology has developed around how to fix the inverted “negative” produced by the editing software. This mythology has become so entrenched that it continues unchallenged without questioning or examining the source of the problem.
However, a little mathematics shows that the negative of any positive image can be calculated from the inverse proportion between the positive and negative logarithms.
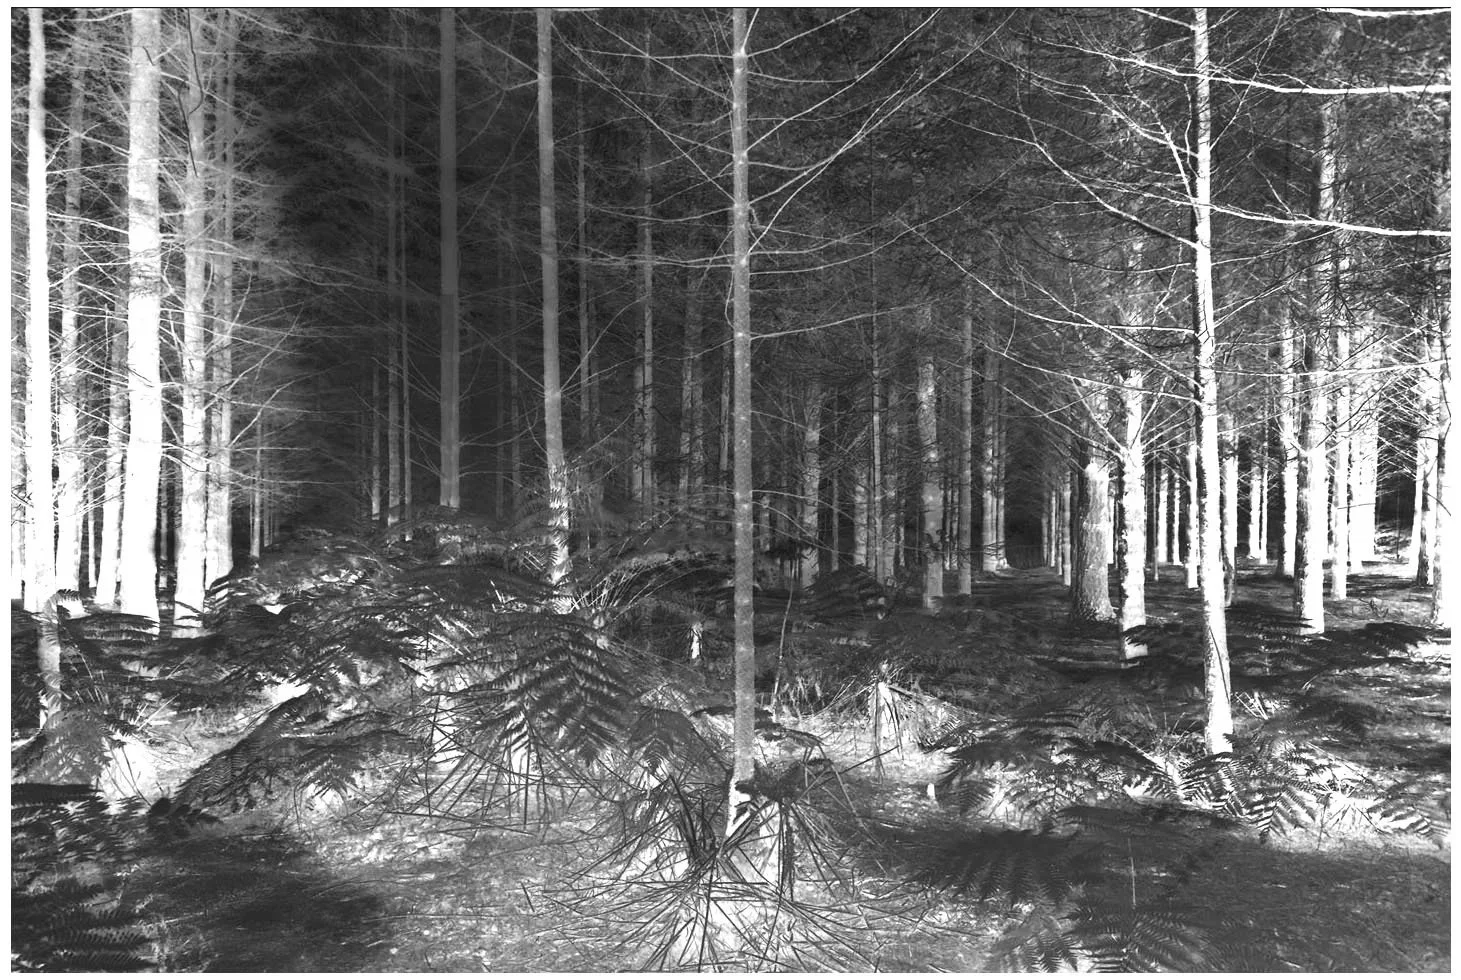
This fundamentally changes the way digital negatives can be made, eliminating the need for densitometers, scanners, linearization procedures, etc., and, with a press of a button, enabling the calculation of a true photographic negative that mirrors every shadow, midtone and highlight of the positive image.
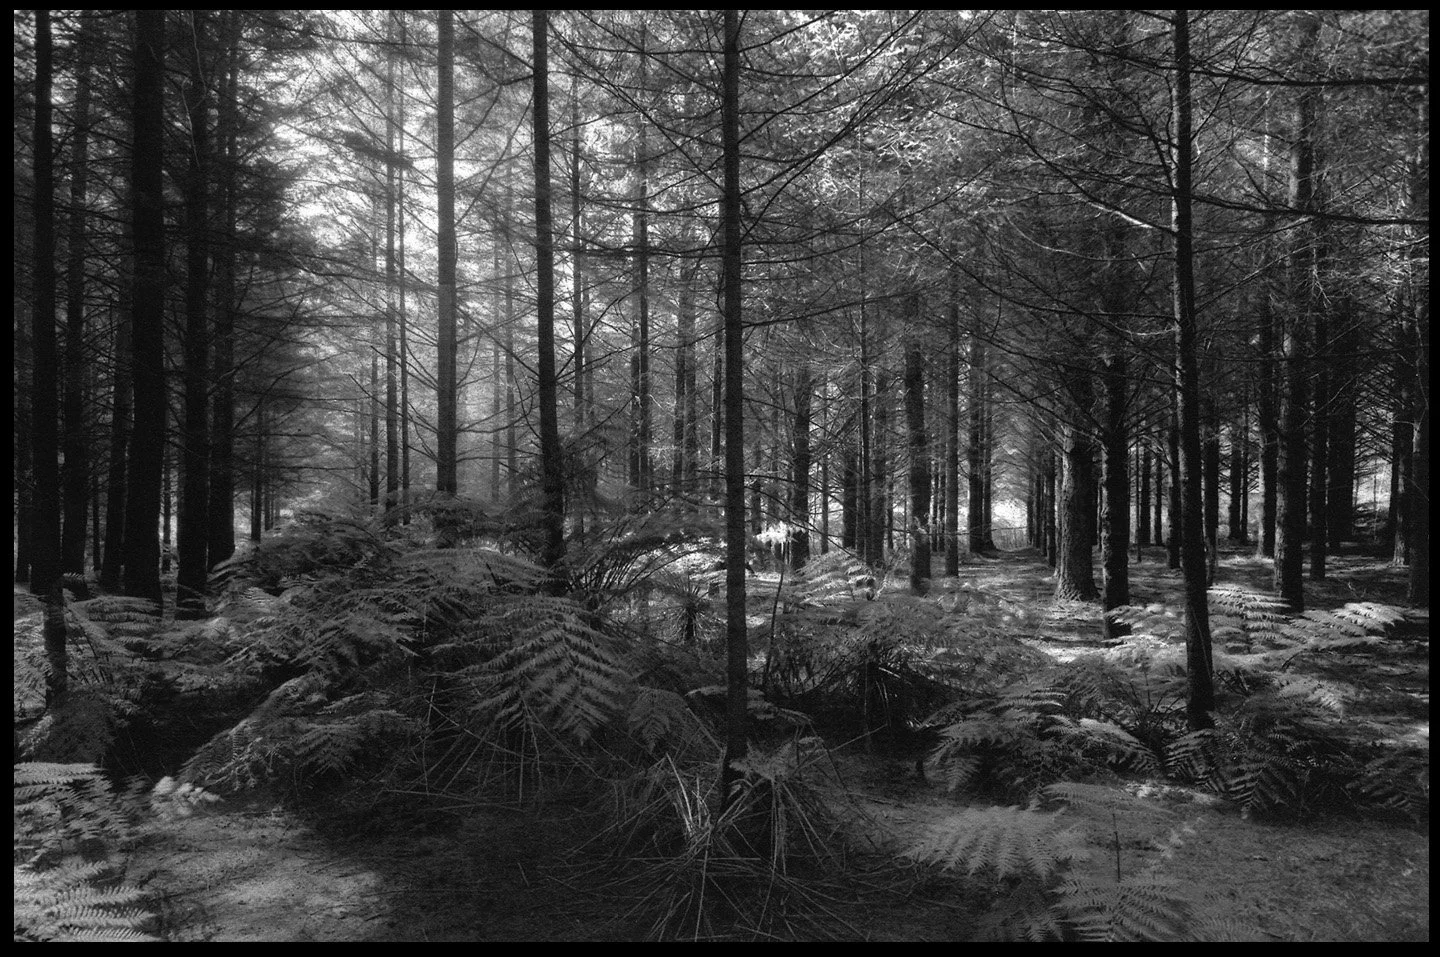
Copy of Carbon Print (Oxide Black) made with a TruNeg Negative
The Photographic Processes
Each photographic process has its own characteristic curve. A negative known to be true and repeatable on any system allows the difference between the negative and the characteristic curve to be determined, recorded, and saved as a correction profile.
This has been done for Argyrotype, Classic Cyanotype, Carbon/Gum Bichromate(A. Dichromate), Salt and Van Dyke Brown, and their profiles can be downloaded from the website. A Generic profile is included to assist users for processes not yet listed.
A description and the curve of each profile, along with some comments about the process, can be found under the Profiles menu.
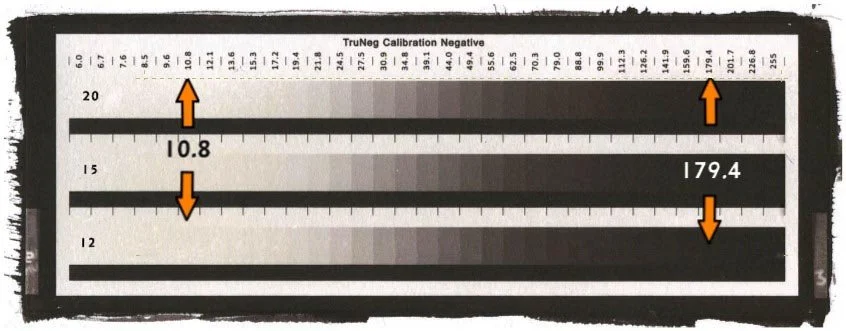
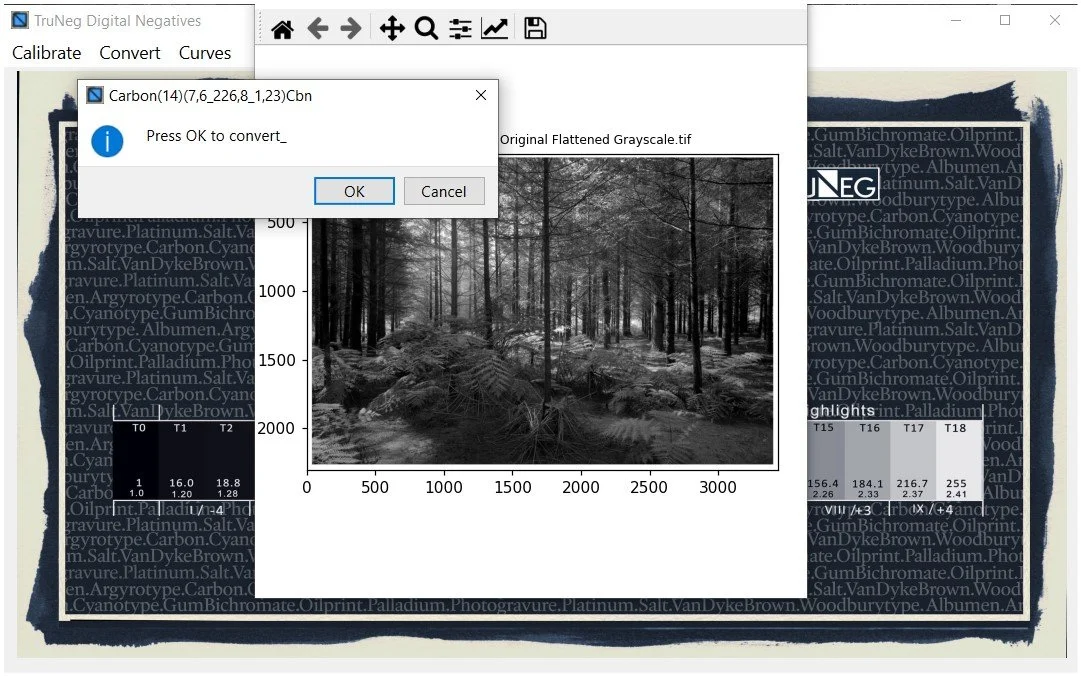
The Curve Window and TruNeg Stepwedge
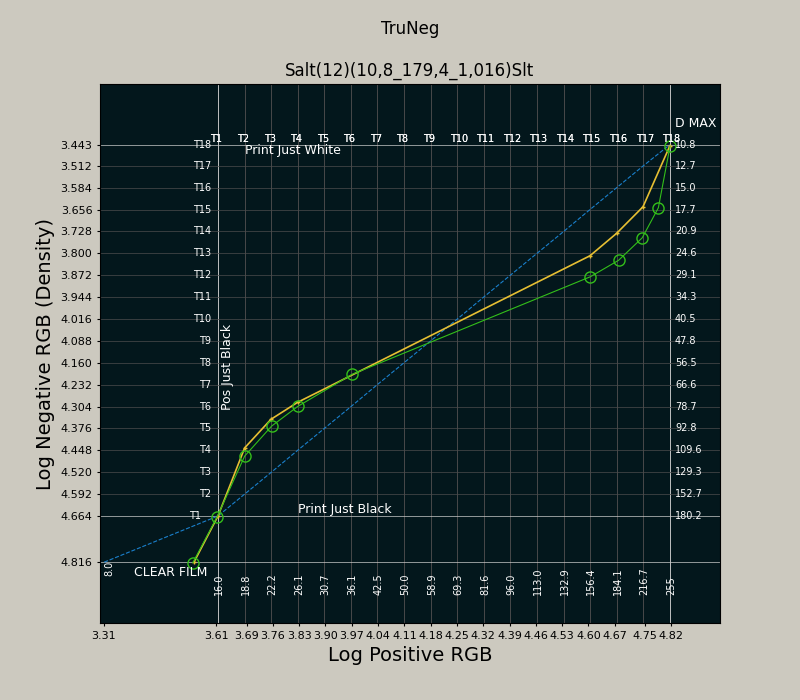
The Curve window is the third main element in the TruNeg application. The Chart plots the positive and negative logarithms and is effectively the anti- or counter DLogE curve of the process, countering the low contrast in the shadows and highlights so that the print matches the monitor.
Each gridline corresponds to a tone in the stepwedge included in the Test Strip Template, making it easy to visualize and predict changing the tones in the print when amending the curve.
Enter the two RGB values that produce ”just white’ and ‘just black” from a print of the Calibration Negative as shown above, load a profile and Save.
In the Convert Menu, open a test strip of the image, select the preset and press OK to convert it into a negative.
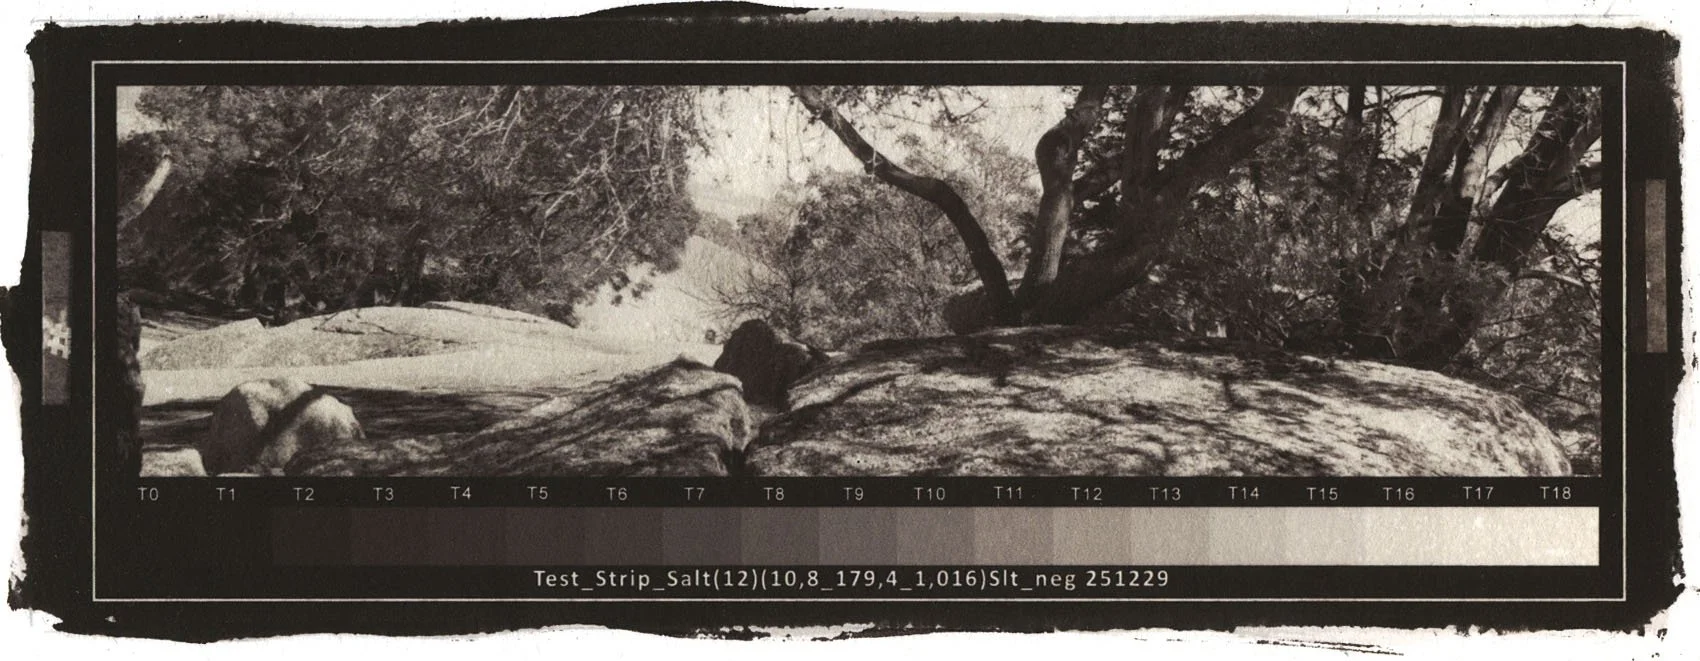
Print the negative, print and check the test strip.
As necessary, correct any unsatisfactory tones in the Curve window and reprint the test strip with the new preset.
Using the Application
The Curve window finishes off the print, whether touching up the highlights or bringing out the shadows, there is nothing to stop the user from achieving the exact print they are after.
Note that the TruNeg app is applicable to any process and printer.
Video Showing How to Make a Salt Print