
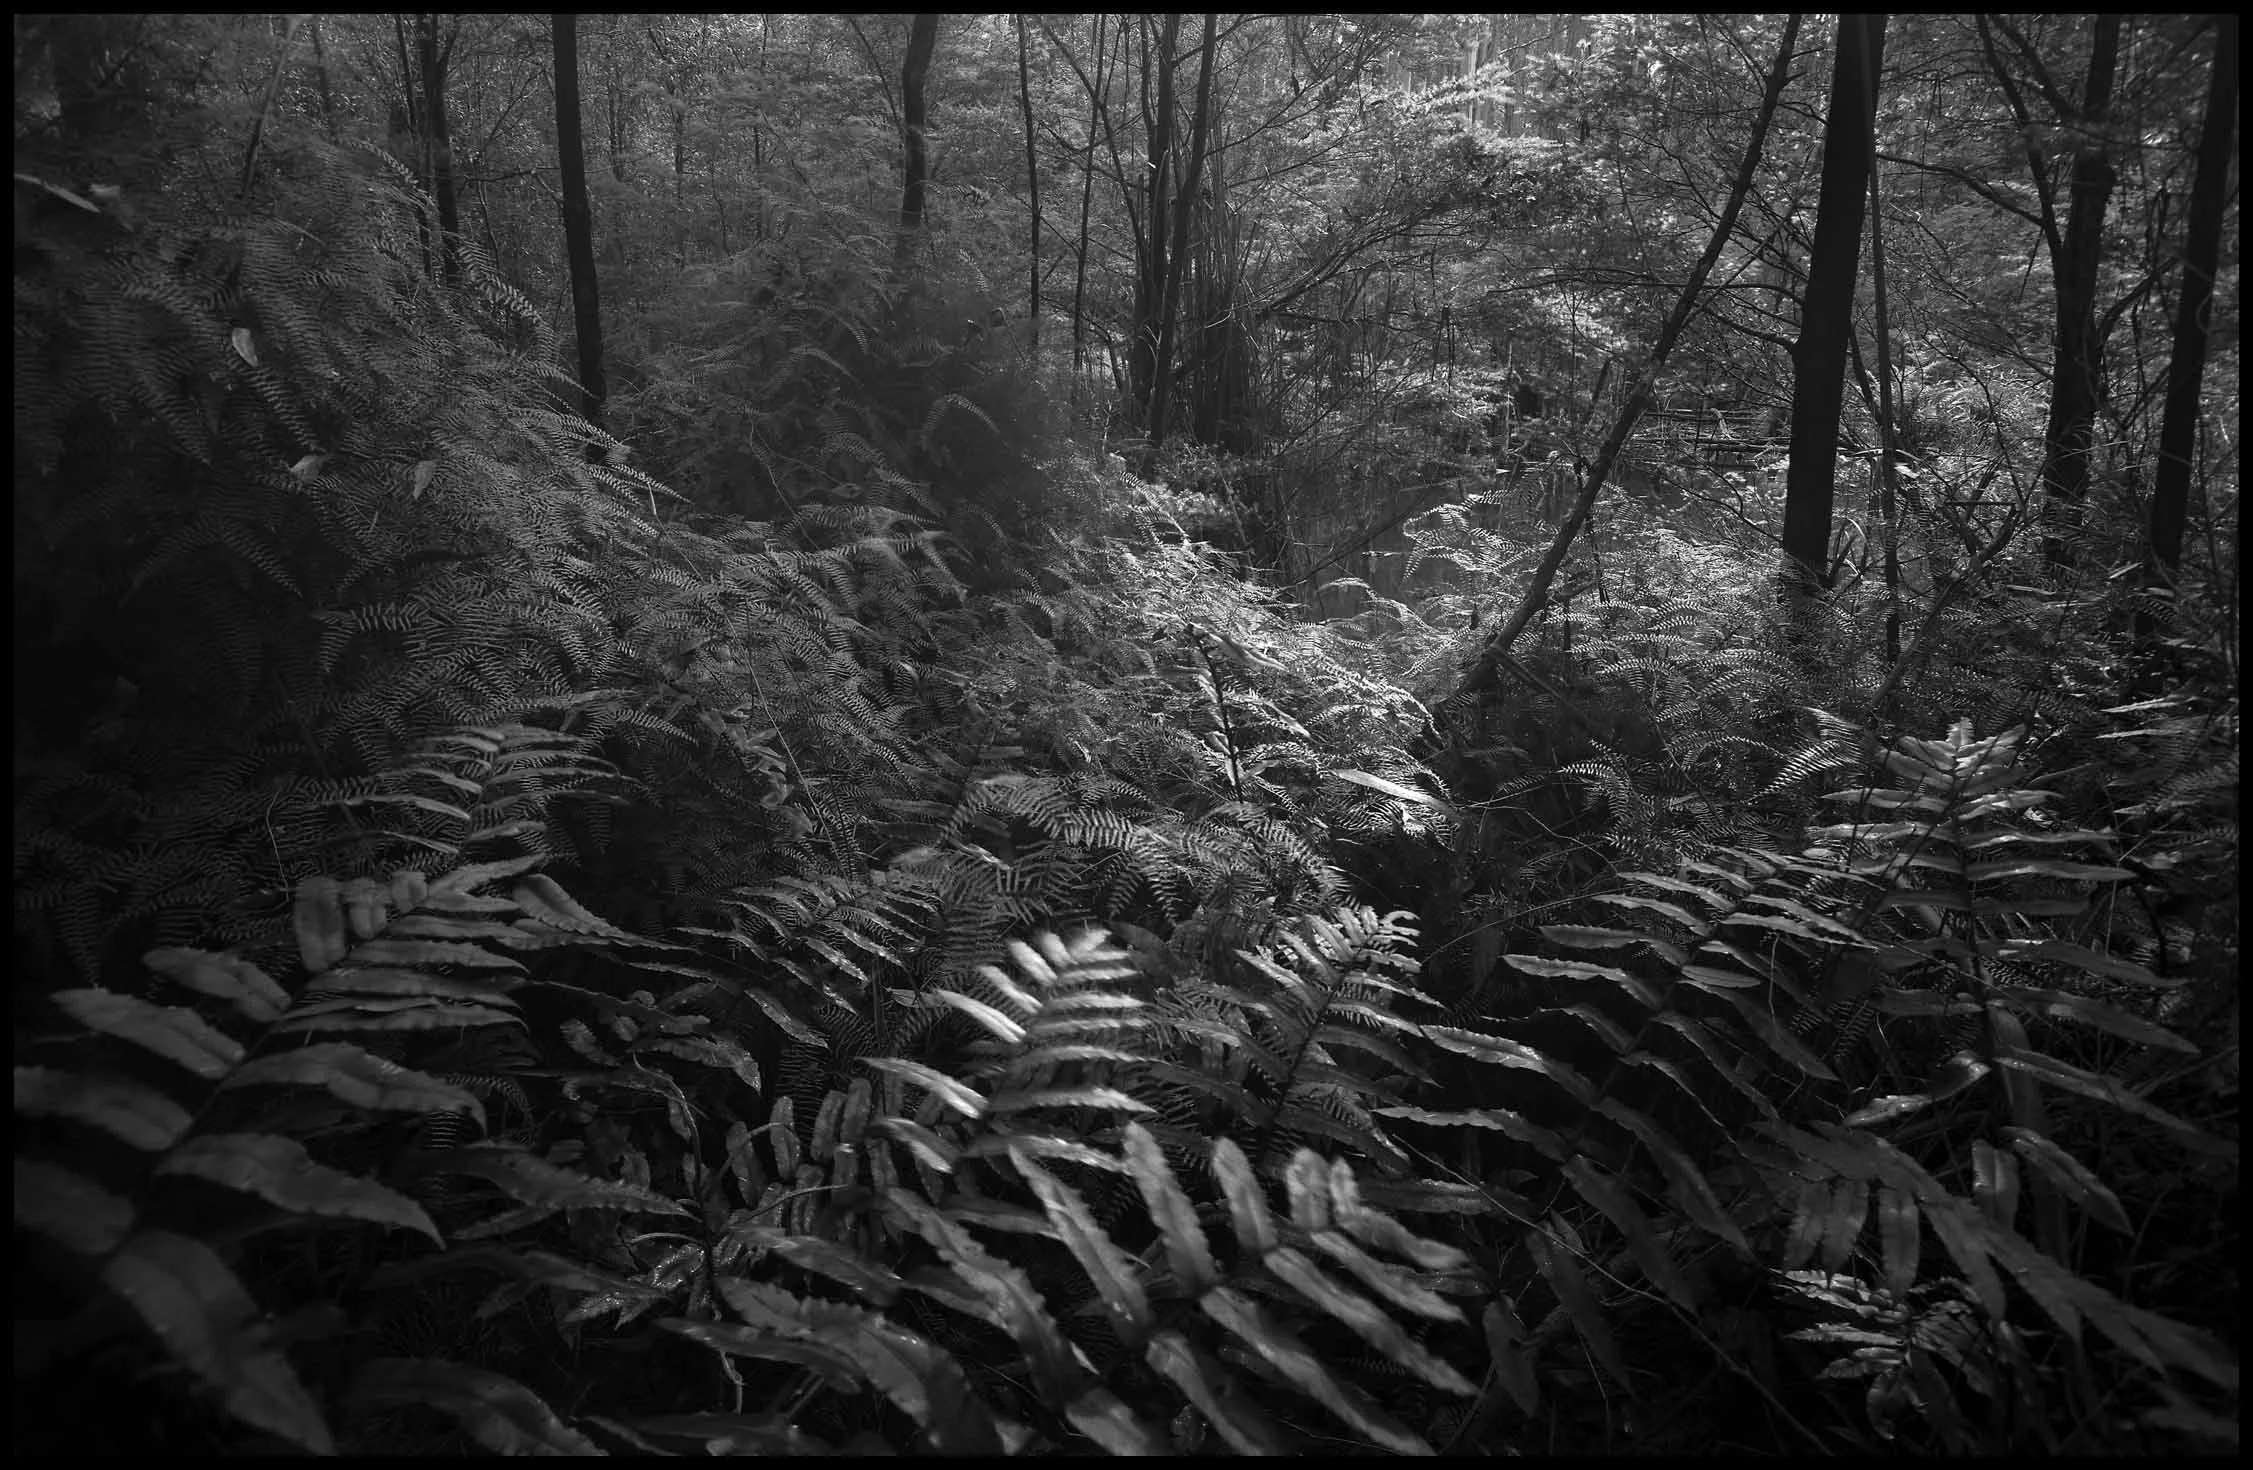

Copy of 28 x 18.1 cm carbon print made from a logarithmic negative

Human vision is logarithmic and perceives regular changes in brightness as multiples of the previous level. Similarly, a standard photographic subject doubles in brightness 8 times from the beginning of the first recorded tone to the end of the last, breaking the image into 8 logarithmic exposure zones.
When digitized in 16-bit, the logarithmic zones are recorded from black to white on a linear scale of 16 to 255, with the zones varying in range from 7 to 75 RGB.
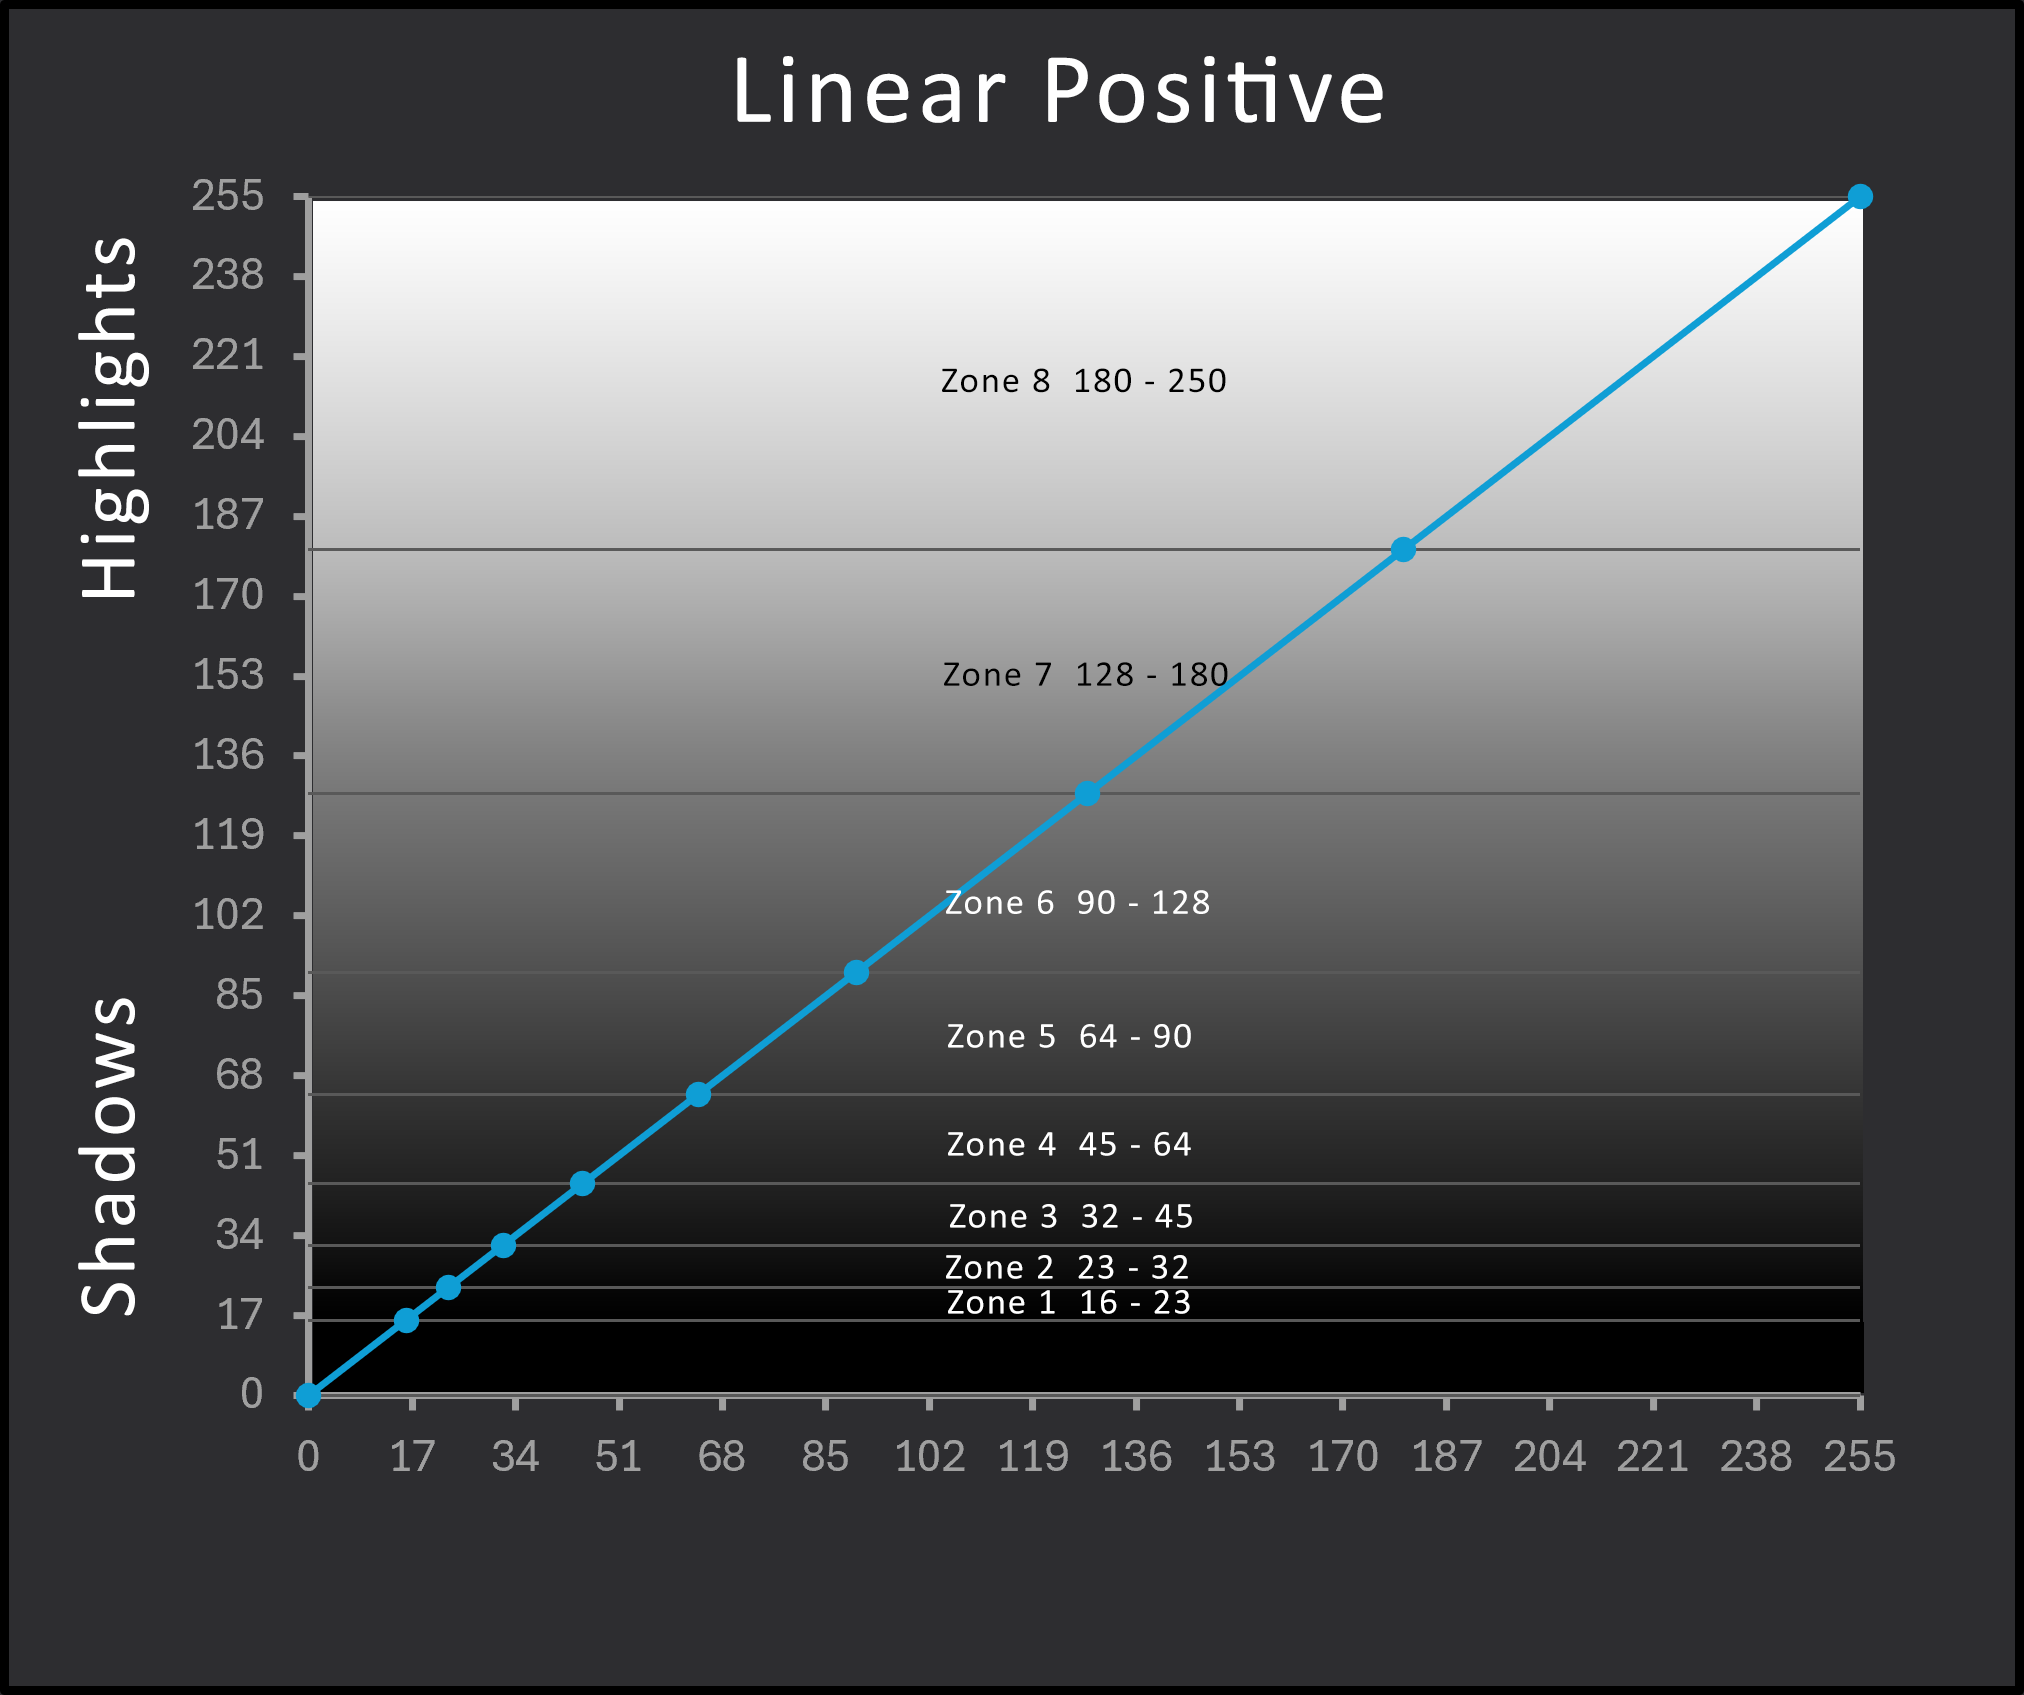
The Linear Negative Problem
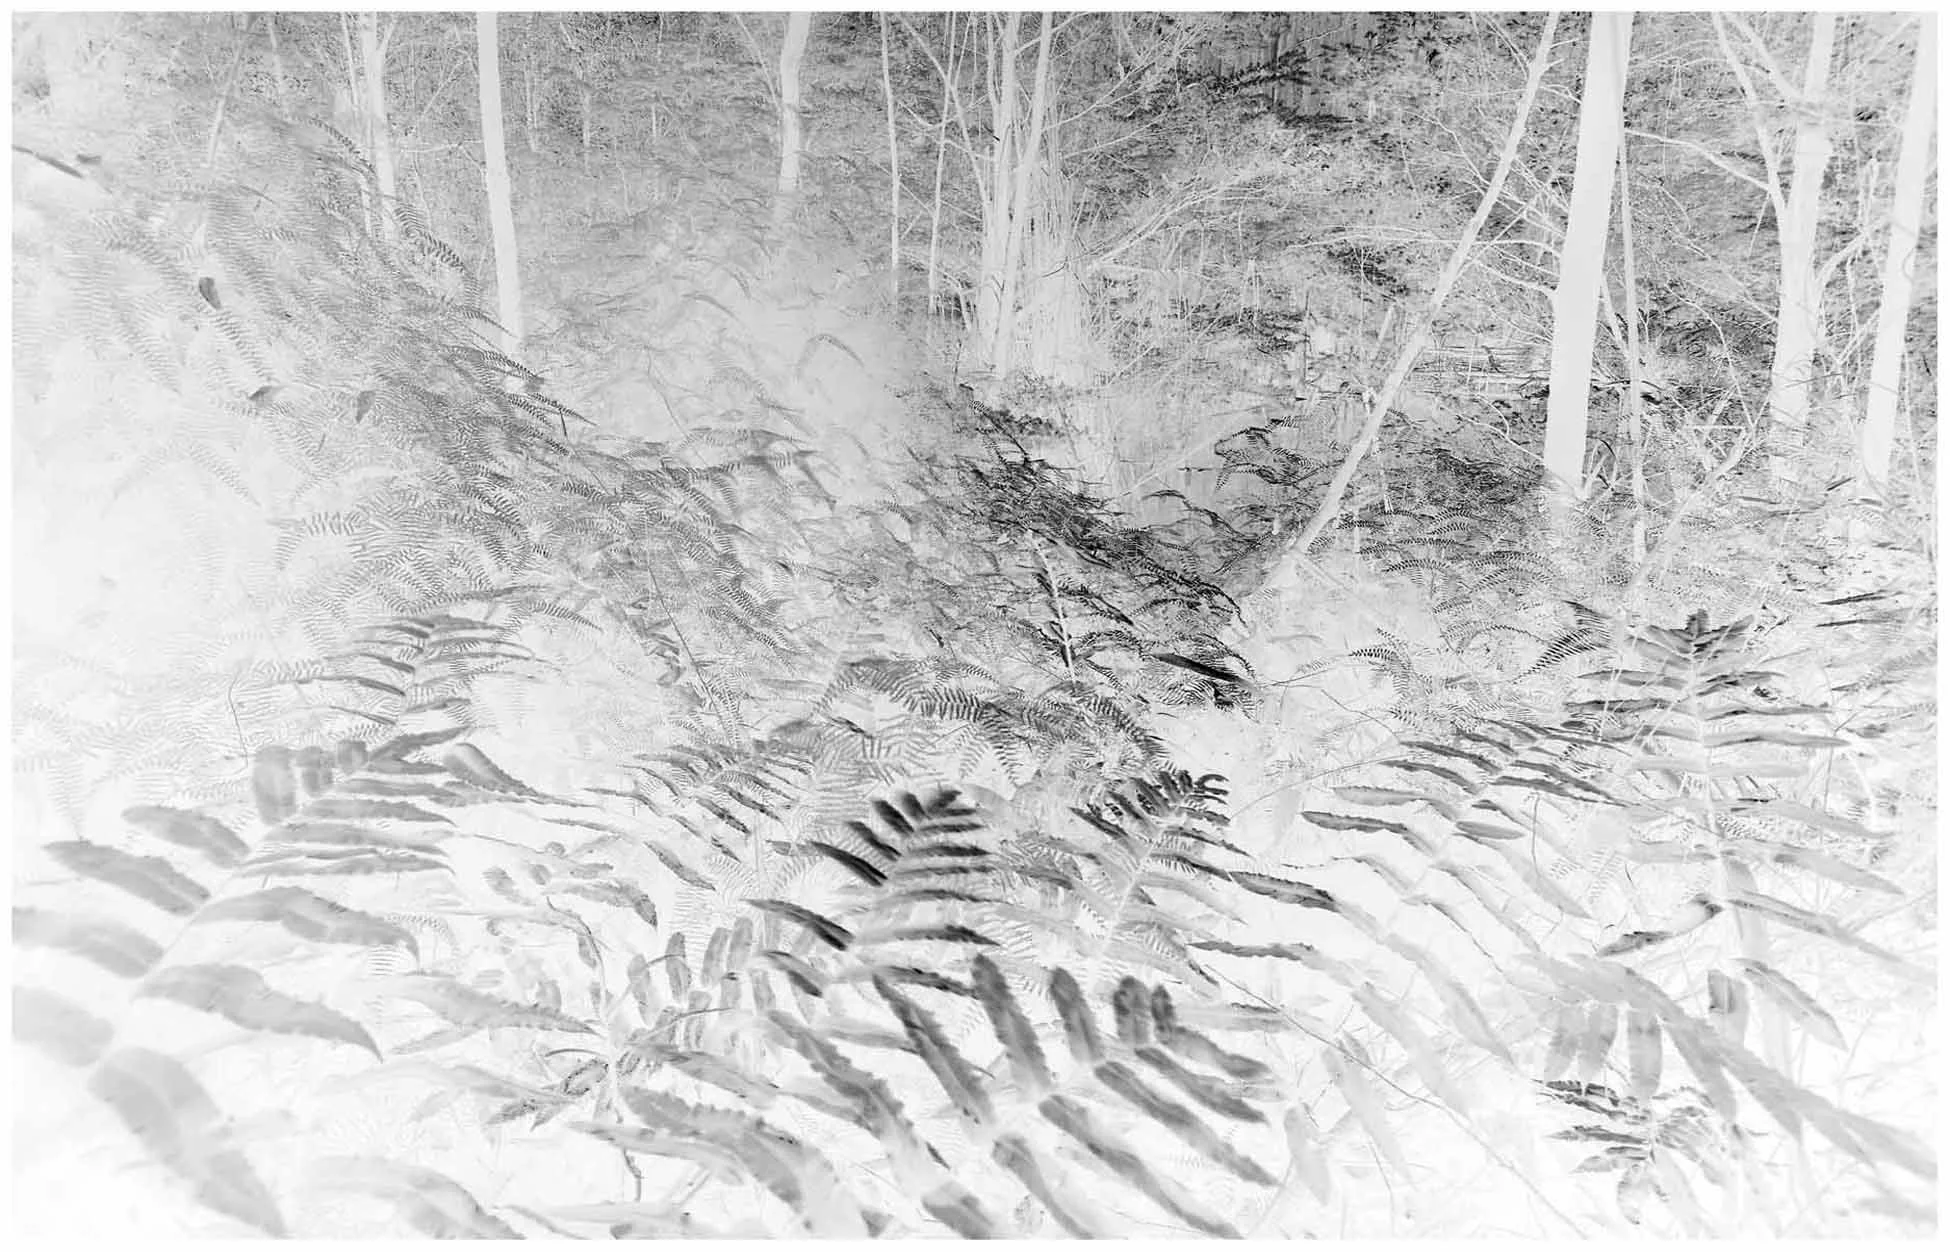
Editing programs invert the image by subtracting each linear positive pixel value from 255.
This causes the narrow positive shadow zones to merge into one large negative zone, and the large highlight zone to split into 4 or 5 narrow negative zones, causing very low density in the shadows and midtones and excessive contrast in the print highlights.
The Logarithmic Digital Negative
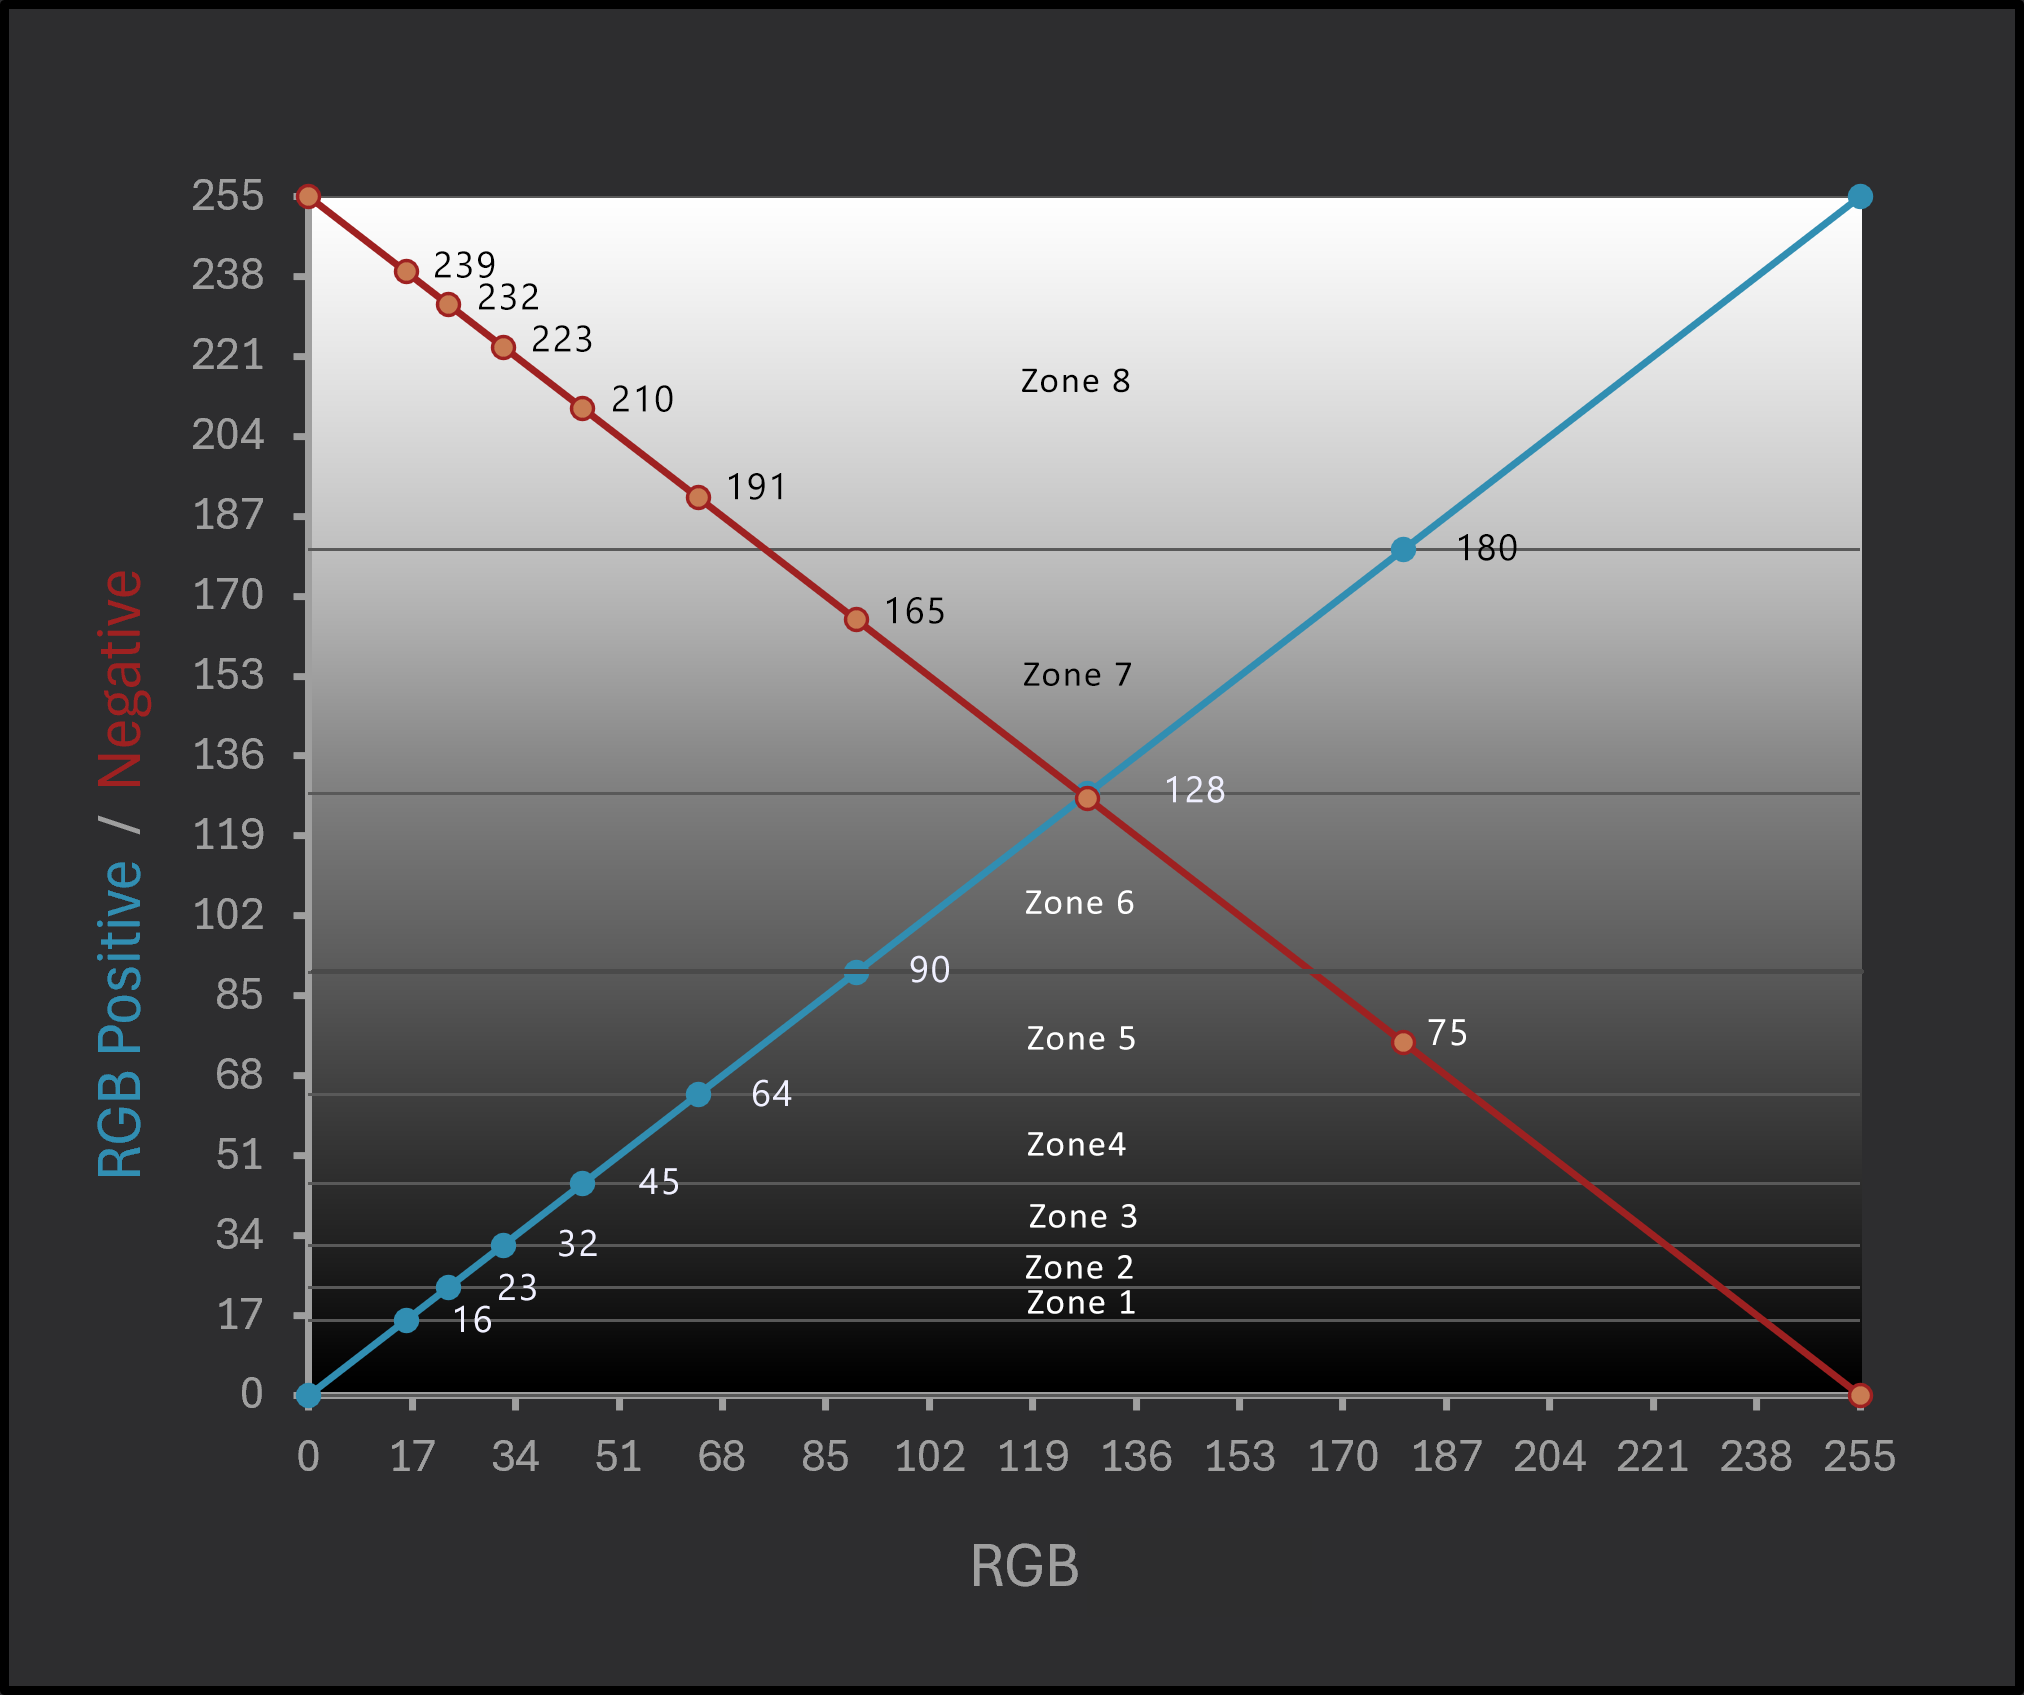
The common solution to this problem is to invert, print, and measure a matrix of linear greyscale tones, typically from 1% to 100%, using a spectrophotometer or scanner to find the tones that match the original matrix in order to create a correction curve.
Overall, while this can produce satisfactory results, there is a major issue. Because the negative's shadows and midtones are so light and flat, the test print is too dark to obtain reliable readings for building a smooth curve. This can be improved by finding colours that absorb more UV light (blocking colours) and applying them to the negative to increase the inverted negative’s density.
Because the ranges differ in size, the linear RGB correction curve can have very high contrast in what are now the highlights and low contrast in the shadows. On an 8-bit curve window, very small changes have a significant effect in the highlights and shadows, making it difficult to edit the negative in the case of an unsatisfactory print.
The logarithmic negative solution.
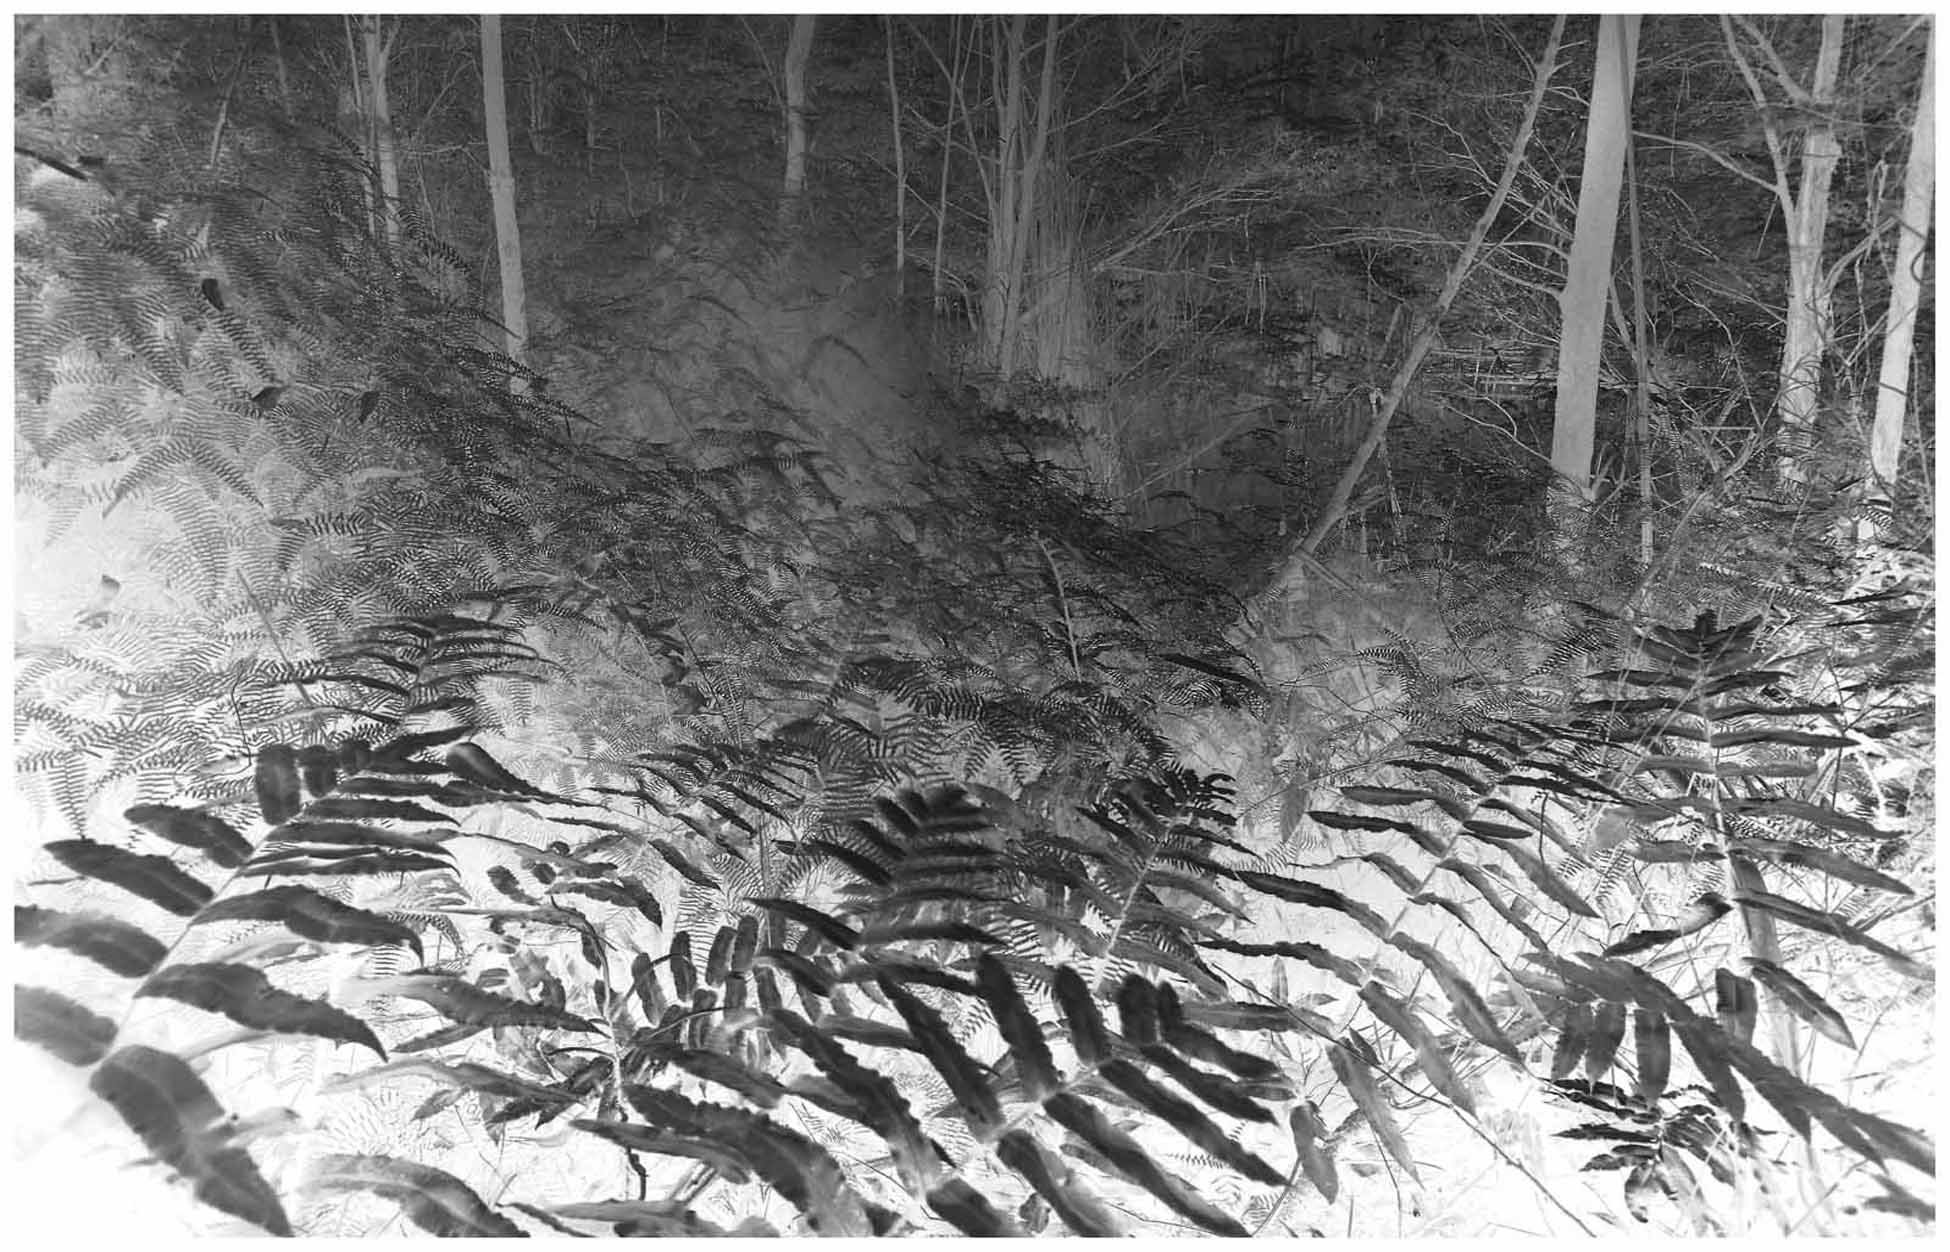
A better approach is to convert the 8-bit RGB scales into 16-bit logarithms.
Logarithms even out the zones and make the negative and positive logarithms inversely proportional, so a simple calculation using the rules of inverse proportion can produce a negative that exactly transposes the positive zones and, for all intents and purposes, matches a silver gelatin negative from the deepest shadows to the brightest highlights.
This removes the need for blocking colours and having to invert, print, and measure a matrix and deal with associated processing errors.
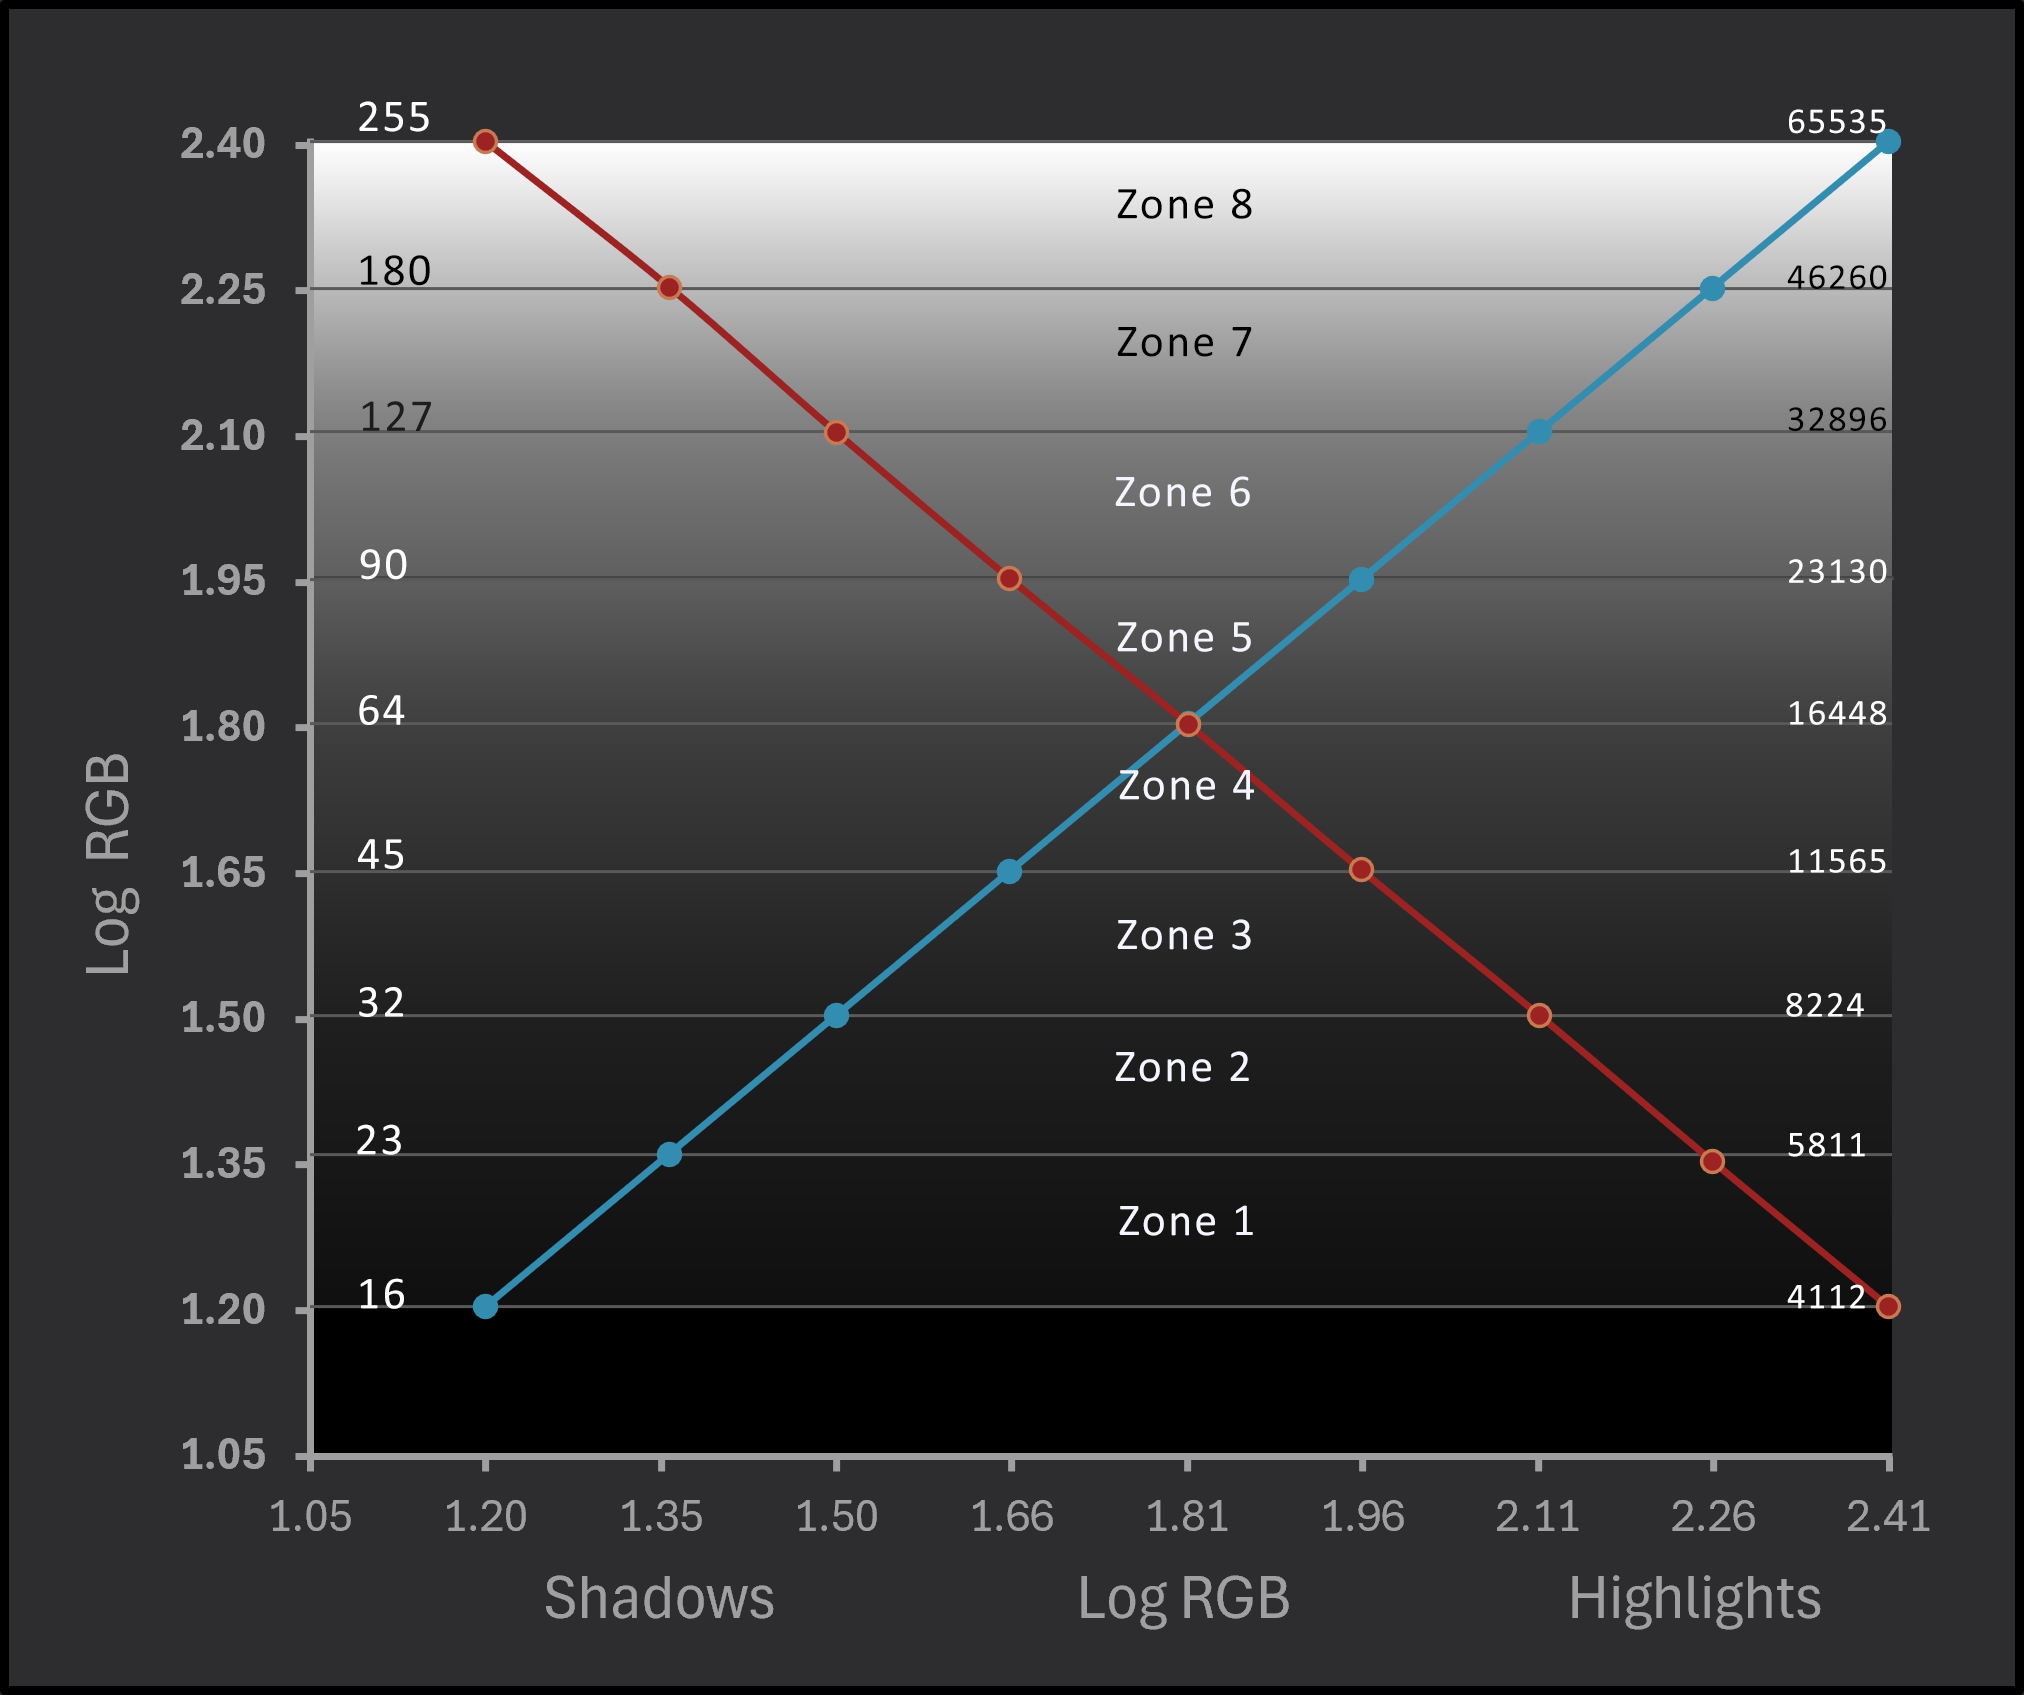
If the print is to match the monitor, after the negative has been correctly inverted, the characteristic low contrast in different processes’ highlights and shadows needs to be corrected along with the printer variations.
Correcting the Printer and Process
Option A
A true negative lets you approach printing using traditional test-strip practices by replacing paper grades with a logarithmic adjustment curve that can lighten or darken any selected zone, tone by tone. Digital negatives can also use predefined profiles to correct the characteristics of different processes.
Profiles for several processes are available from the website
While this takes some experience and expertise, it puts you in charge of the printing process free from densitometers, giving the satisfaction of a fully hand-crafted print. See - Working with Profiles and the DLogRGB Curve
Option B
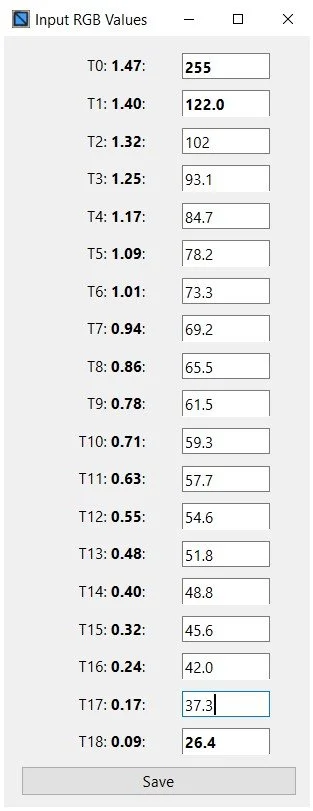
A print with equal density steps for equal log inputs will match a monitor image with a gamma of 1.8. A number of equal density steps can be calculated by the program and the RGB that produce them can be found by measuring the gradient with a densitometer or using a Stouffer #R3705-1 Opaque Gray Scale.

The RGB are entered into the Profiler tool and the inverse DLogRGB curve, with printer corrections, is generated to convert the negative.